How to Compost at Home: 5 Easy Steps for Beginners
So you want to start composting, huh?
Well, what is composting exactly? And how is it done?
Don’t worry, we cover all of that in this article with easy-to-follow instructions that don’t make it feel like you’re solving an algebra problem.
Well, let’s get into it!
We are reader-supported. So some links in this post may be affiliate links, which means we may earn a small commission if you make a purchase. Learn more
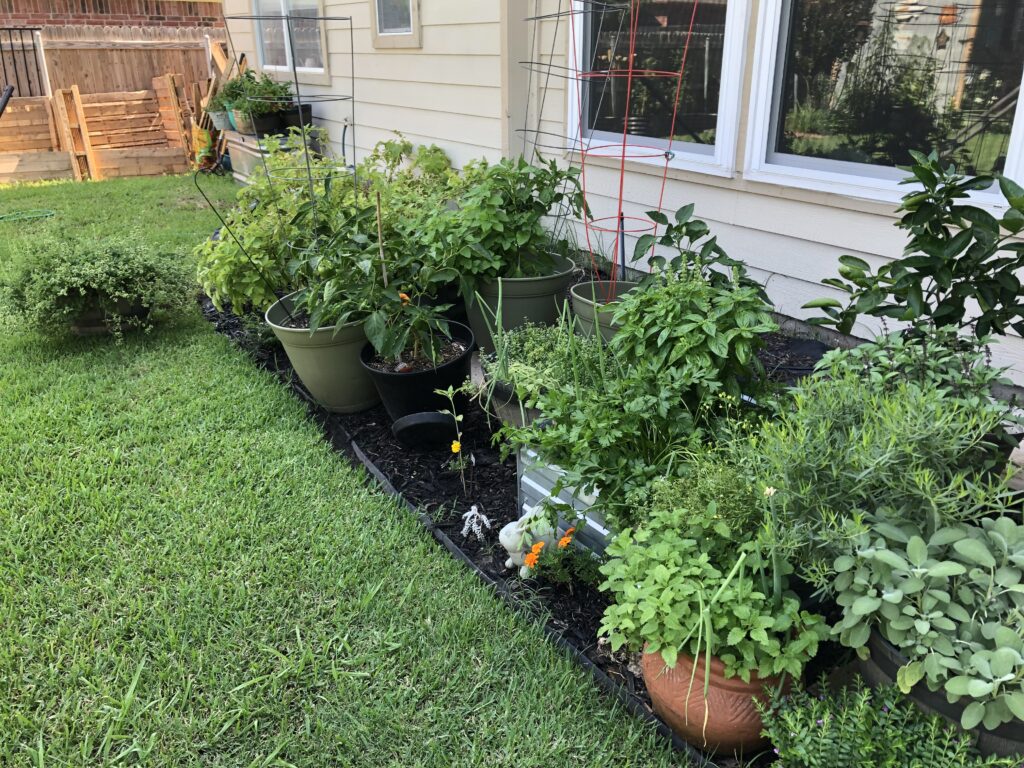
Composting seemed like a chore at first when we started, but it has become another excuse to get outside and do some work in our garden
The garden is one of the most important places in life, even if I don’t feel like it sometimes.
It’s away from the artificial, tech-driven world we live in and surrounded by God’s creation (without all the noise).
It’s also super cool to see compost break down over time and change into the golden dirt it becomes!
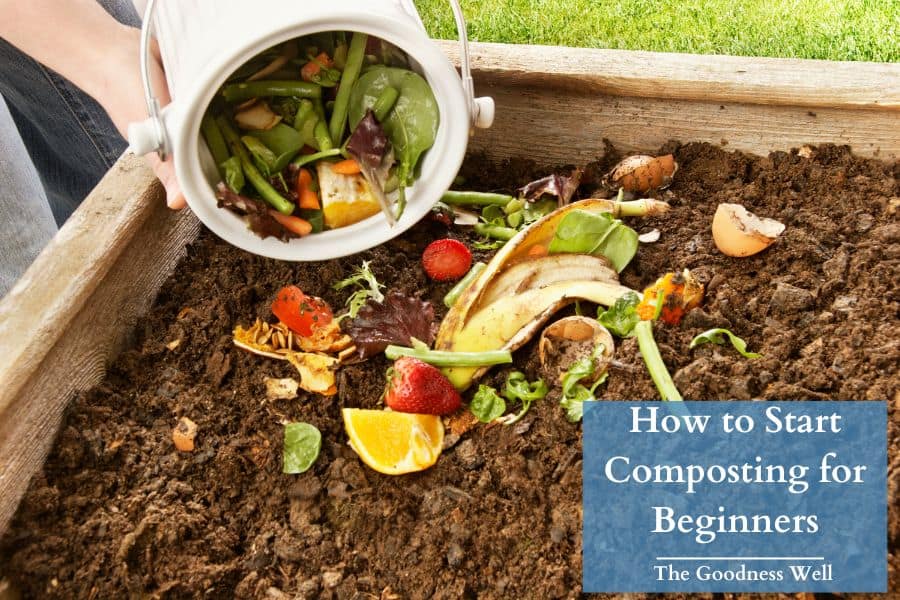
What is Composting Exactly?
Composting is simply the natural process of turning your kitchen scraps and yard waste into what’s called in gardening, “black gold” – a nutrient-rich, dark soil that plants love.
It’s taking those banana peels and coffee grounds you’d normally throw away and transforming them into the best fertilizer you can get for your garden.
Most importantly, you DON’T need fancy equipment or a science degree to do it; composting can be as simple as you want.
Nature does the work for you!
It’s as simple as this:
- More time spent with compost = faster compost
- Less time spent with compost = slower compost
Either way, you will still have compost at some point and there are all types of benefits to taking part in this activity.
Benefits of Composting
1. Amazing Benefits For Plants
This takes your food scraps that would go into the trash can and uses them to become the best natural fertilizer for all plants. And it’s free!
2. Reduces Waste
Did you know if everyone in the U.S. composted, it would be the same as taking almost 8 million cars of the road?
Compostable material in your backyard is usually broken down with more oxygen than it would in a landfill, which contributes to much less greenhouse gases.
3. Gets You Outside
We have all types of excuses why we can’t get outside but once that kitchen compost bin fills up, you’ll have no choice.
This is a good thing!
Getting outside is a proven way to improve your mental health and with the turning of the compost pile every once in a while, you’ll get a little exercise in too!
Now let’s get to the good stuff and show you how to start composting step by step (without all the confusion and deep science)
How to Compost for Beginners (5 Steps)
1. Set Up Your Kitchen Collection Spot
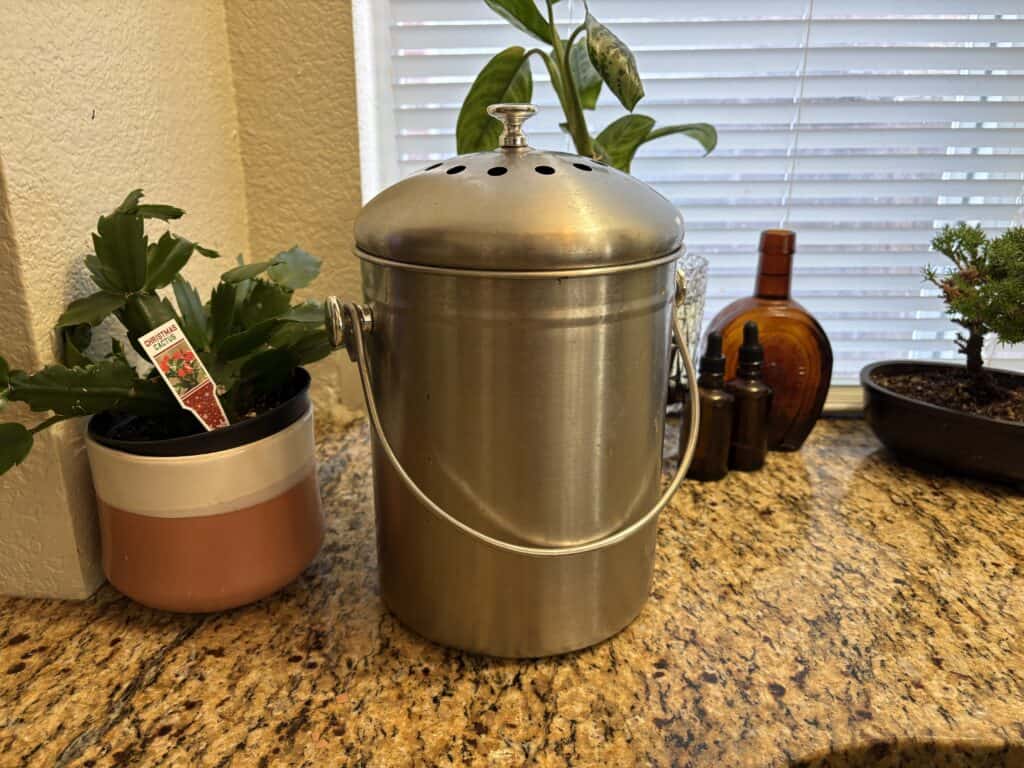
This will simply be wherever you decide to put your kitchen compost bin.
Here is where you collect your kitchen scraps!
Where Do I Put It?
As you can see, we keep ours right next to the kitchen sink as it’s right next to the sink and the area where we do most of our food prep
Which One Should I Use?
Here is a link to the bin that we use.
*When we first started we went with a cheap plastic one and it just did not hold up well over time and especially didn’t contain that compost stink that can happen.
This stainless steel one is a much better option as it also has an activated carbon filter at the top to eliminate those compost odors. We love it.
How Do I Use It?

So, once the bin fills up, you simply throw it into your compost pile outside (which we will get to).
We will also get to exactly what you fill it up with in step 3.
Pro Tips:
- Cut larger scraps into smaller pieces to speed up decomposition (I just chop them up with a flat shovel on the ground once I dump them)
- Drain excess liquid from fruit and vegetable scraps before adding them
- If you generate lots of scraps, consider keeping a larger bin under the sink and a smaller one on the counter
- Clean your bin weekly with hot, soapy water to maintain hygiene
2. Choose and Create Your Outdoor Composting Space
Ok, now that you’ve set up your kitchen bin set up, it’s time to create your main composting area.
Don’t worry – this doesn’t have to be elaborate or expensive.
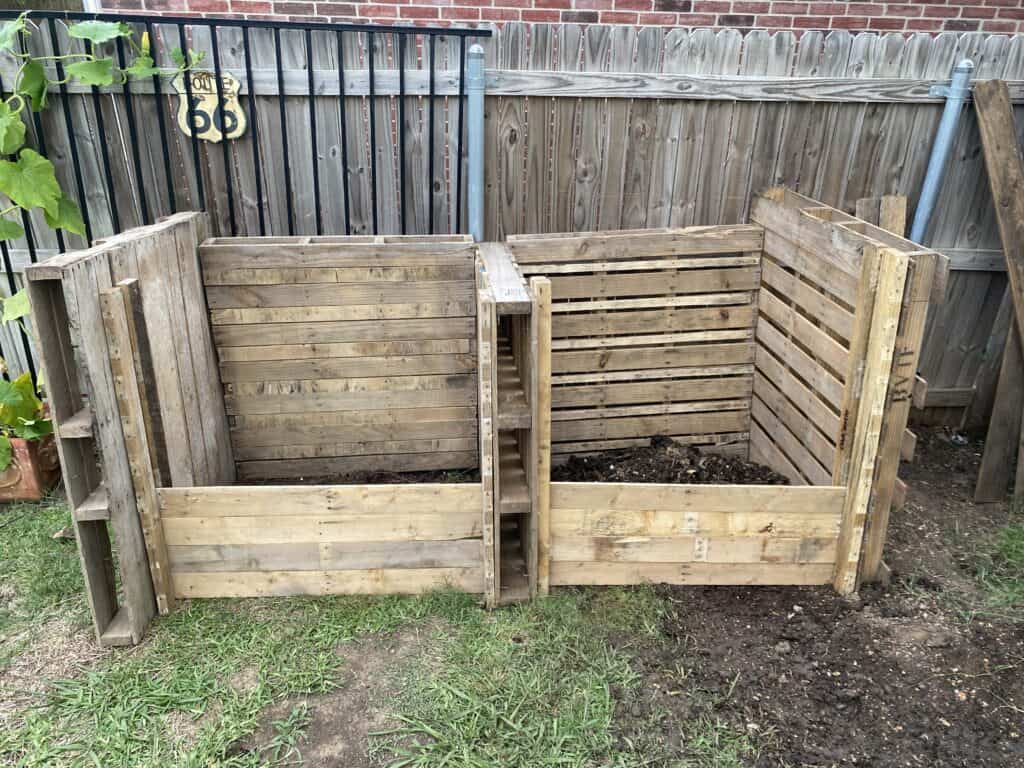
This is so we create compost in one section during the year, and then once it hits about October, we stop adding compost to that pile and start a new one in the second section.
This way we will have one pile of ready compost for gardening season, and another one we fill up throughout the year.
Here are your options for compost bins:
1. Wooden Compost Bin (Recommended)
We recommend this option the most because this wood is not only the safest material for your compost but it also keeps the material well contained.
*You can buy complete wooden compost bins but they are pretty expensive.
Pros:
- Free of microplastics
- Safe material for compost
- Neat appearance
- Good containment
- Can be free (pallets) or purchased
- Durable and breathable
- Easy compost harvesting
- Weather protected
Cons:
- Requires construction
- More expensive if pre-made
How To Do It
Building your own wooden compost bin might sound like a big task but it really doesn’t have to be.
Check out our video/post in the link above which shows how to build a well-built compost bin from free pallets.
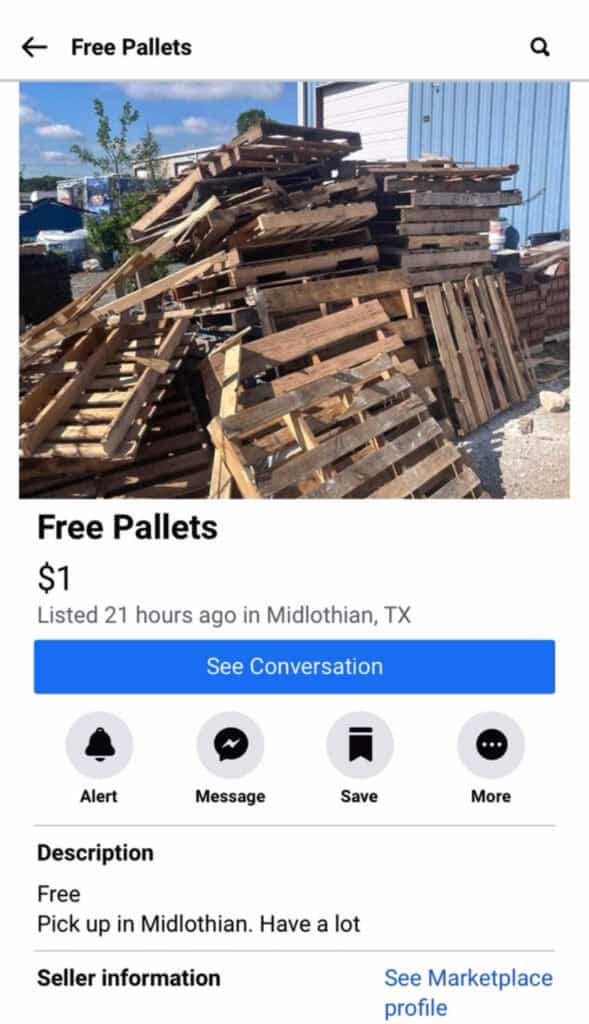
You can find free pallets many places but I suggest searching Facebook Marketplace and looking in your area. I have always found mine this way.
Once you get the pallets, instead of following my video, to make it very easy you can simply screw 3 pallets together to make U-shape, which creates three walls for your compost bin.
This leaves one side open for easy access when turning your pile. Make sure to secure the pallets together well at the corners using sturdy screws or strong zip ties for stability.
2. Simple Pile Method

This is the most basic and cost-free approach.
It’s a great place to get started but it’s got its downsides.
If you want to get started immediately, you can use this method and move your compost to a designated bin later.
Pros:
- Free and easiest to start
- No building required
- Excellent airflow and drainage
- Unlimited size flexibility
- Easy to turn and add materials
- Direct soil contact for decomposers
Cons:
- Looks messy
- Weather exposed
- Takes more yard space
- May attract animals
- Less neighborhood-friendly
- Materials can blow around
How To Do It
- Clear the ground of grass or weeds
- Create a base layer of twigs or small branches for drainage
- Add a thick layer of browns (leaves, straw, or cardboard)
- Start adding your kitchen scraps and other materials
- Cover with more browns
- Continue this pattern
3. Plastic Bin (Not Recommended)

*Composting in a plastic compost bin is better than not composting, so if this method is the most ideal to get you composting, do it!
Pros:
- Ready to use
- Neat and portable
- Weather resistant
- Good for small spaces
- Easy to use
Cons:
- Releases microplastics
- Expensive
- Poor airflow
- Limited size
- Harder to harvest compost
- Often too small for proper composting
Plastic Compost Bin Options:
Store-Bought Options:

- Tumbling Composters
- Features: Elevated, spin handle, aeration holes
- How to use: Add materials, spin 5-7 times every few days
- Standing Bins
- Features: Removable lid, bottom door for harvest
- How to use: Add materials from top, harvest from bottom door
DIY Plastic Options (using repurposed items):

- Storage Tote Bin Instructions:
- Get a large plastic tote
- Drill 1/4 inch holes every 6 inches on sides and bottom
- Add lid with holes for ventilation
- Place on bricks for drainage
- Garbage Can Composter Instructions:
- Clean 32-gallon garbage can
- Drill 1/4 inch holes throughout sides and bottom
- Place on blocks for airflow
- Use lid to control moisture
- 5-Gallon Bucket System Instructions:
- Drill holes in bottom and sides
- Stack on top of solid bucket to catch liquid
- Good for small spaces/apartments
- Best for kitchen scraps only
Where Do I Put My Compost Bin?
Choose a spot that is:
- Partially shaded (prevents the pile from drying out too quickly)
- Well-draining (avoid areas where water pools)
- Directly on soil (allows beneficial organisms to access the pile)
- Easily accessible in all weather
- Away from structures (at least 2 feet)
- Convenient for hauling materials
- Not too close to neighbors (can be stinky sometimes)
3. What Goes in My Compost (& What Doesn’t)?
So what goes in your compost?
Here is a list to screenshot and/or to print and keep on your fridge:
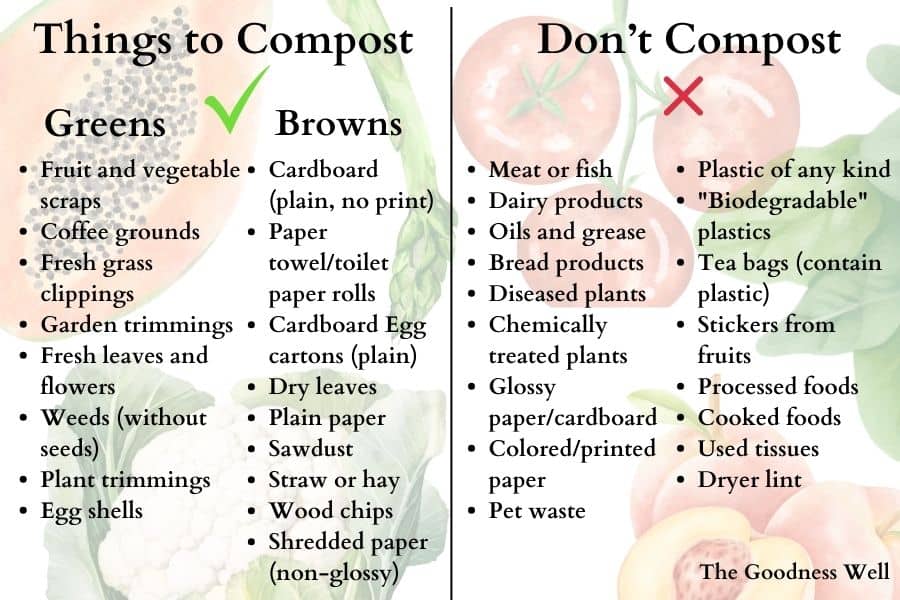
1. Greens (Nitrogen-Rich Materials)
*Your greens will mainly be food scraps from your kitchen compost bin and grass and leaves from your yard
- Fruit and vegetable scraps
- Coffee grounds
- Fresh grass clippings
- Garden trimmings
- Fresh leaves and flowers
- Weeds (without seeds)
- Plant trimmings
- Egg shells
2. Browns (Carbon-Rich Materials)
- Cardboard (plain, no print)
- Paper towel/toilet paper rolls
- Cardboard Egg cartons (plain)
- Dry leaves
- Plain paper
- Sawdust
- Straw or hay
- Wood chips
- Shredded paper (non-glossy)
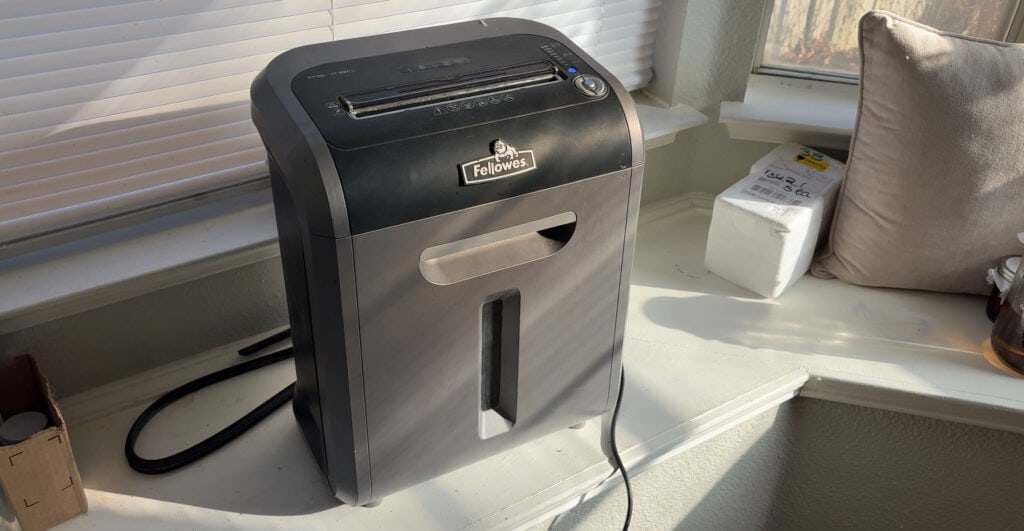
Look on Facebook marketplace for a paper shredder (16-inch at least for cardboard) to make life much easier breaking down cardboard. We got our ($200+ retail) shredder for $20. Not bad!
More Tips:
- Cut or tear materials into smaller pieces for faster decomposition
- If it smells bad, add more browns (especially cardboard)
- When in doubt, leave it out
- Try to keep a balance- 50% Greens – 50% Browns
- Most inks are safe now (water-soluble or soy-based), but avoid glossy papers
- If your pile seems sludgy, add more browns like shredded cardboard
There are things that can cause your compost to stink, attract pests, and ruin the quality of your compost.
❌ Here are things to avoid putting in compost:
- Meat or fish
- Dairy products
- Oils and grease
- Bread products
- Diseased plants
- Chemically treated plants
- Glossy paper/cardboard
- Colored/printed paper
- Pet waste
- Plastic of any kind
- “Biodegradable” plastics
- Tea bags (contain plastic)
- Stickers from fruits
- Processed foods
- Cooked foods
- Used tissues
- Dryer lint
4: Keeping The Balance
So now that you know what to put in, here’s how to do it.
The 50/50 Balance
- Aim for equal parts browns and greens
- Why this works:
- Creates ideal conditions for decomposition
- Prevents bad odors
- Maintains proper moisture
- Keeps pile from becoming too wet or dry
Layering Your Materials
- Start with browns at the bottom (twigs/cardboard for drainage)
- Add your greens (kitchen scraps/grass clippings)
- Cover with browns
- Repeat these layers as you add materials
- Always end with a brown layer on top
Size Matters
- Smaller pieces decompose faster:
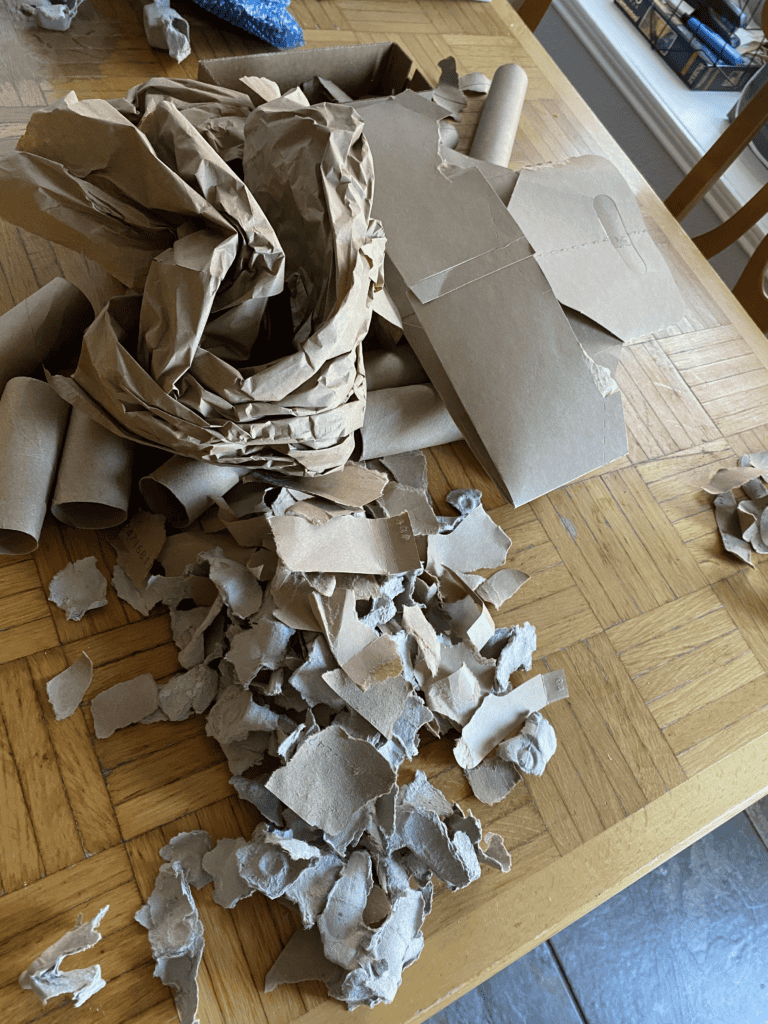
- Tear cardboard into 2-3 inch strips
- Chop larger kitchen scraps
- Break up twigs
- Crush eggshells
- Think of it like digestion: smaller bites are easier to break down
Moisture Management
- Pile should feel like a wrung-out sponge
- Too dry? Add water when turning
- Too wet? Add dry browns and cover from rain
- Signs of good moisture:
- Materials look damp but not soaking
- No water pools when squeezed
- Materials stick together but aren’t slimy
Signs Your Compost is Working:
- Slight warmth in center
- Earthy smell
- Visible decomposition
- Shrinking pile
- Presence of worms and insects
Bad signs (and how to fix):
- Bad odors → Add more browns
- Very wet/slimy → Add dry browns, improve drainage
- Not decomposing → Cut materials smaller, add water
- Dry and unchanged → Add water and greens
- Attracting pests → Cover food scraps with browns
Remember: Composting is forgiving! If something seems off, adjusting your browns-to-greens ratio usually solves the problem.
5. Keep A Simple Routine
Let’s break down composting into a simple weekly routine that takes just 10-15 minutes:
Daily Routine:
- Collect kitchen scraps in your countertop bin
- Break down cardboard as you use it (keep a small pile ready)
- Pro tip: Keep a box of torn cardboard near your outdoor bin for easy layering
Every 2-3 Days:
- Empty kitchen bin into outdoor compost
- Add a layer of your stored browns on top
- Quick check for moisture
- Done in 2 minutes!
Weekly Maintenance (10-15 minutes):
- Turn the pile:
- Use a pitchfork or shovel
- Move outside materials to center
- Mix materials while turning
- Goal: Allow air to reach center
- Check moisture:
- Grab a handful from middle
- Should feel like a wrung-out sponge
- If too dry: Add water while turning
- If too wet: Add stored browns
- Add bulk materials:
- Grass clippings after mowing
- Saved cardboard/paper
- Yard waste
Monthly Tasks:
- Deep turn of entire pile
- Check for finished compost at bottom
- Harvest any ready compost
- Clean your kitchen bin thoroughly
Seasonal Considerations:
- Spring: Add extra browns for wet grass clippings
- Summer: Monitor moisture, water if needed
- Fall: Stock up on leaves for winter
- Winter: Cover pile during heavy rain/snow
Remember:
- No need to turn daily – once a week is plenty
- Always cover food scraps with browns
- Your pile will naturally shrink as it decomposes
And most importantly, Keep it simple!
Compost will break down over time no matter what.
Mother nature will do her job but a little help can speed up the process.
When Will My Compost Be Finished?
If you turn your compost weekly, your compost pile should be finished about 2-3 months after you added your last material (longer in winter months)
If you get lazy (like we do sometimes) it can take up to a year.
As a reminder from the section above:
I suggest making at least two compost piles: one for finished compost and another for active compost.
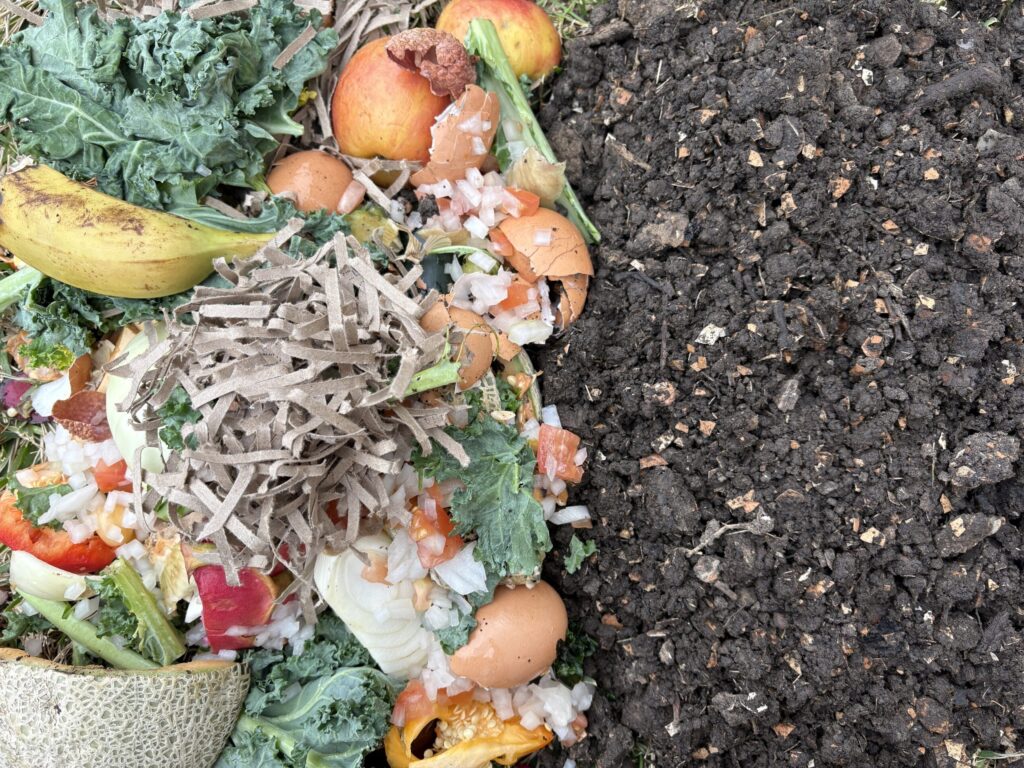
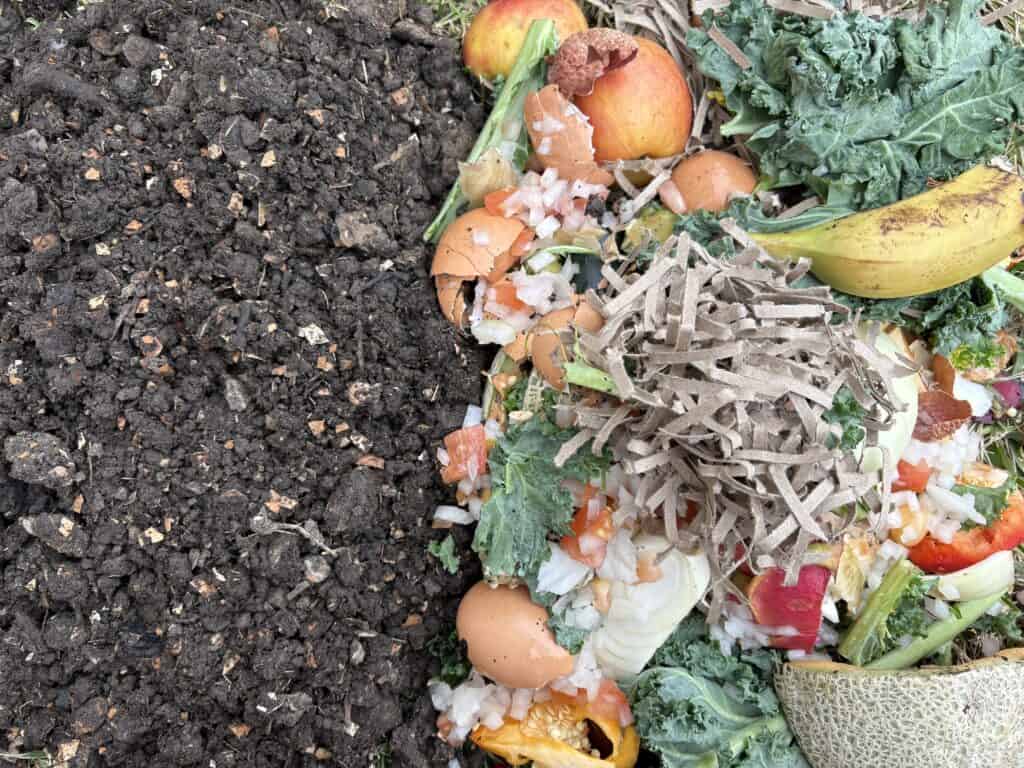
Signs Your Compost is Ready
- Dark brown or black color
- Crumbly, soil-like texture
- Earthy smell like forest floor
- Original materials no longer recognizable
- Note: egg shells will stay in the compost for a long time, so finished compost with eggshells is perfectly fine to use.
- Temperature same as outside air
- Reduced to about 1/3 of original size
Remember: There’s no such thing as perfect compost. If you’re turning food waste into soil, you’re doing it right!
Thanks for reading! Let us know if you have any tips or tricks when it comes to composting!