How To Make A Compost Bin From Pallets: Beginners DIY (VIDEO)
Wondering how to make a compost bin from pallets? We’ve got you.
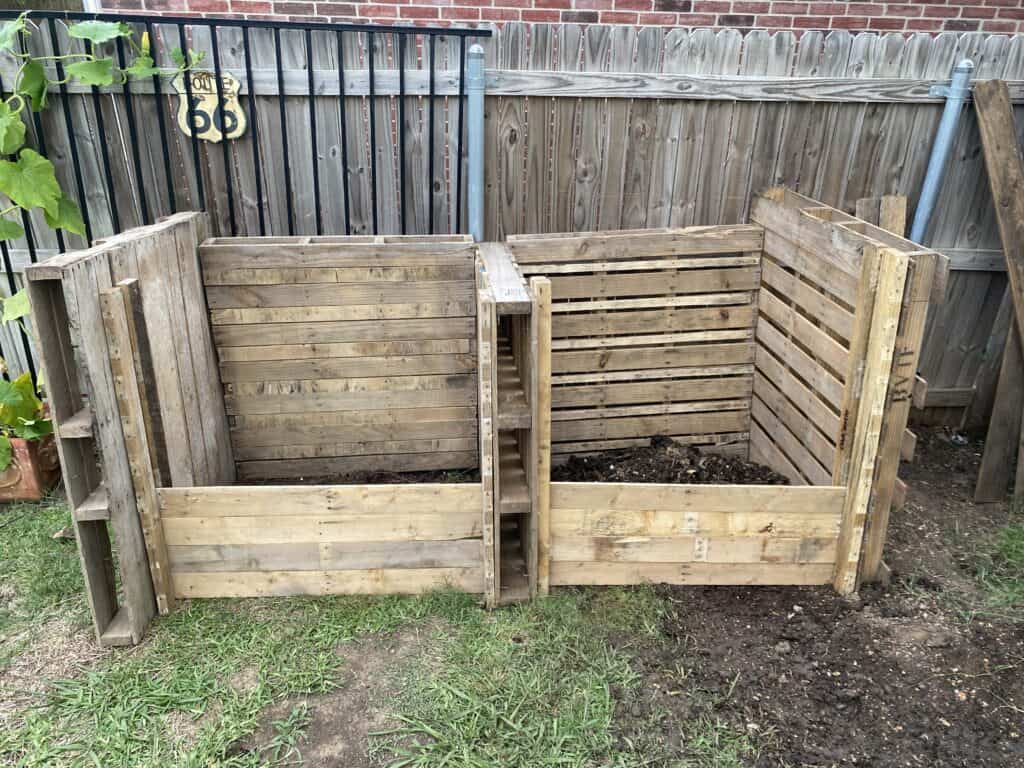
After learning how to compost, we set out to build the simplest but most useful compost bin, so we did some research, experimented a little, and came up with the easiest and cheapest way to create a DIY compost bin made of pallets.
We’re going to show you step-by-step how we did it.
Building a compost bin from pallets will not only save you money, but keep you from using those plastic compost bins that leach microplastics into your precious soil.
In this guide, we’ll show you where to get your pallets from, which pallets to pick (because it matters!), and exactly how to put it all together.
Let’s get into it!
Why Wood (and not plastic) is Best For Compost
All plastic degrades over time, including your plastic compost bins, releasing microplastics into its surroundings. Heck, even your polyester shirt releases microplastics.
And with how compost works, multiple factors can speed up the release of these microplastics:
- Warmth: Compost piles generate heat, which accelerates the breakdown of materials, including plastics.
- Moisture: The high moisture in compost assists in the degradation process by softening materials and supporting microbial activity.
- Biological Activity: Compost is rich in microorganisms such as bacteria and fungi that break down organic matter. These organisms can also act on plastics, causing them to break into smaller pieces.
- Physical Abrasion: Regular turning and mixing of the compost pile can cause physical wear on materials, including plastics, leading to microplastics breaking off
And these microplastics have been shown to “significantly alter soil chemistry and affect plant health”, which I assume you want to avoid.
We do our absolute best in our own garden to avoid plastic, which I know isn’t always easy.
With that out of the way, let’s get to building this thing
Step 1: Finding & Picking Your Pallets
Finding pallets shouldn’t be too difficult. But be sure you also find the right pallets, as not all are created equal.
Finding Pallets
Any business that has inventory will most likely use pallets. Just give them a call and see if they have any extra pallets you can come pick up.
- Hardware stores
- Construction sites
- Garden shops
- Home improvement stores
- Furniture Stores
- Equipment stores
- Newspaper companies
- Pet stores
- Grocery stores
I’ve heard many people having success with this, me not so much.
Home Depot wanted to charge me $25 a pallet. Haha, hard pass.
So alternatively, you can go the route I did. Good ol’ Facebook Marketplace.
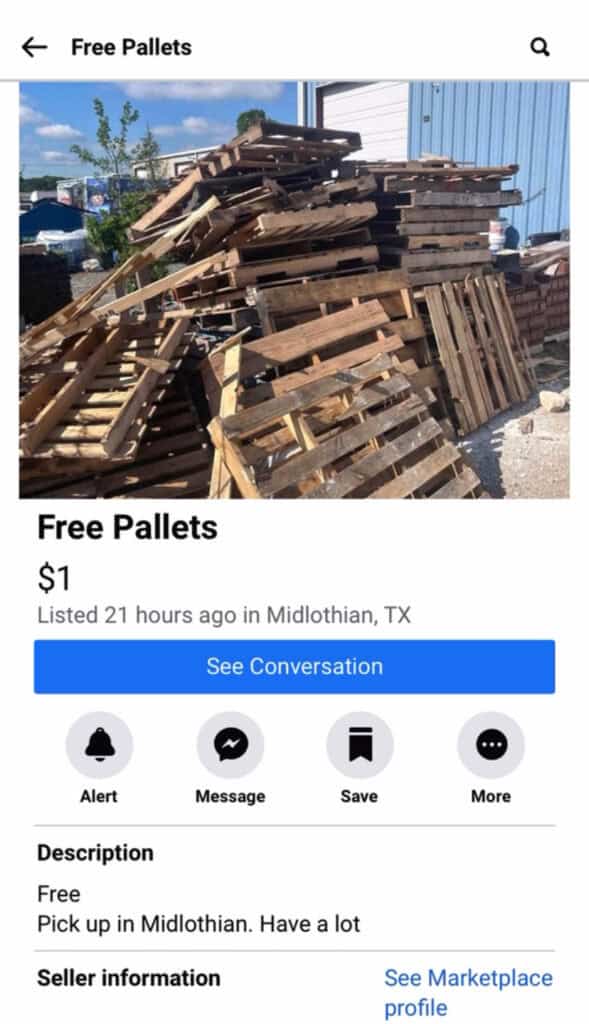
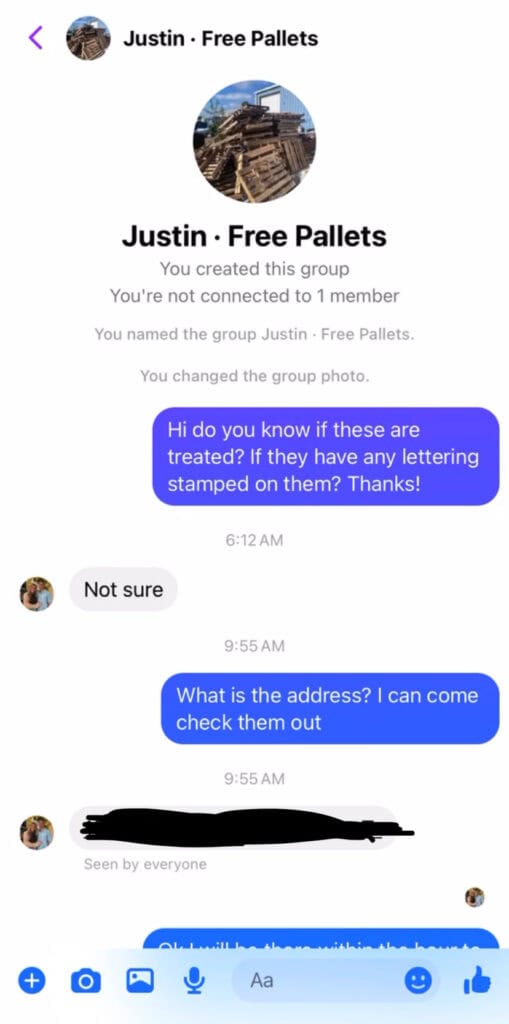
Just head to Facebook Marketplace and search your area for free pallets. You’d be surprised how much you might find!
Before you grab those pallets though, be sure you’re picking the right ones.
Picking The Right Pallets
Long story short, all pallets need to be treated in some way to prevent from bugs, diseases, etc.
Most pallets are either treated with some sort of chemical or heat treated (HT), and it’s the latter you want to look for. You don’t want chemically treated wood leaching chemicals into your compost.
You want to find ones with an IPPC logo with the letters “HT” on them similar to the stamps you see here. This means they were heat treated which is safe.
I ensured this stamp was on the pallets I found before I picked them up.
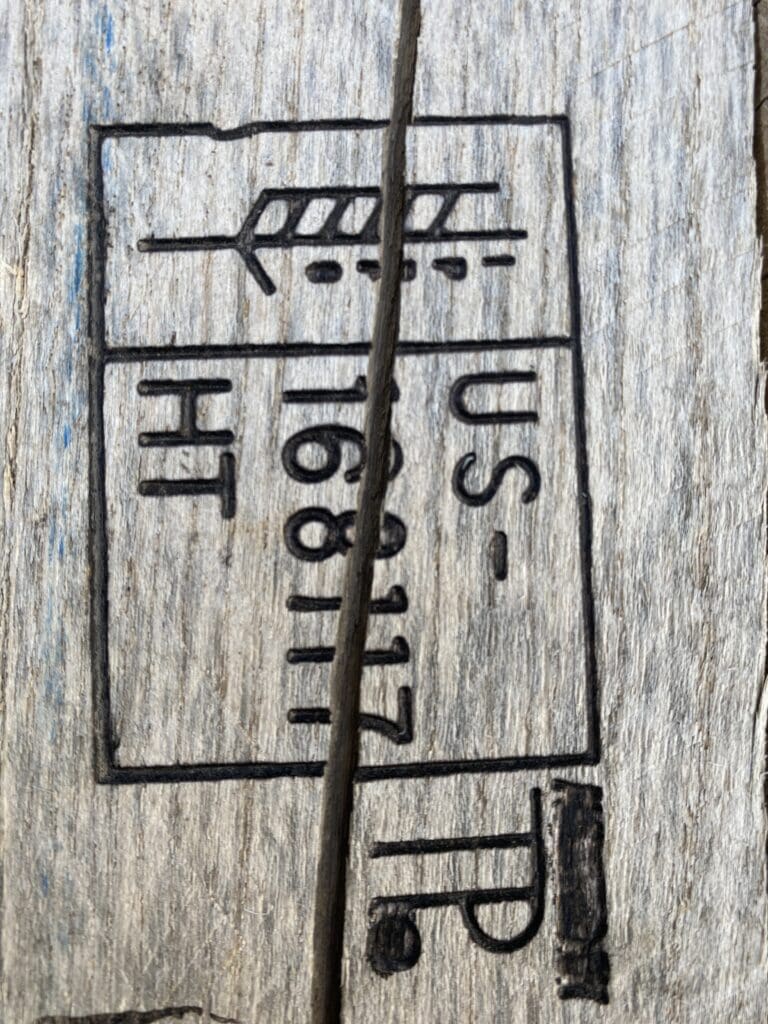
If they have the letters “MB” on them, it means they were treated with methyl bromide, a toxic chemical you don’t want leaching into your compost.
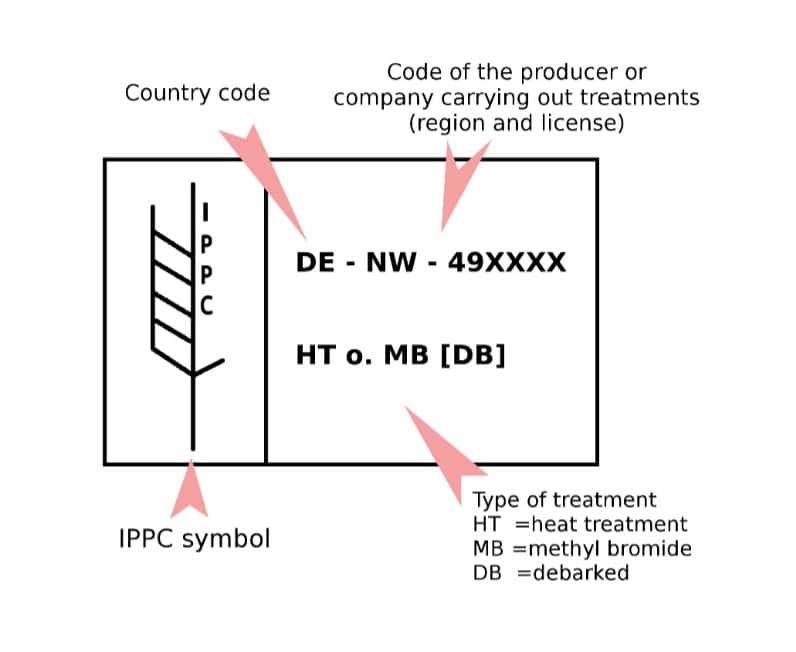
Also, if they are unmarked, skip them because you just don’t know how they were treated.
How Many Pallets You Need
I know most people out there do 3 section compost bins when using pallets but we kept it super simple and did a 2 section compost.
- For 2-section compost (like us): About 8-9 pallets
- You really only need 5 pallets however I suggest getting at least 3-4 more pallets for extra wood to make adjustments and add on wood as needed like I did so a total of 8-9 pallets.
- For a 3-section compost bin: About 11 pallets
- 7 pallets + about 4 extra for extra wood to work with.
Building Your Compost Bin
*I will note first, your compost bin does not have to be perfect! As long as it holds together well enough, it’s just to hold compost in the end.
Tools Needed
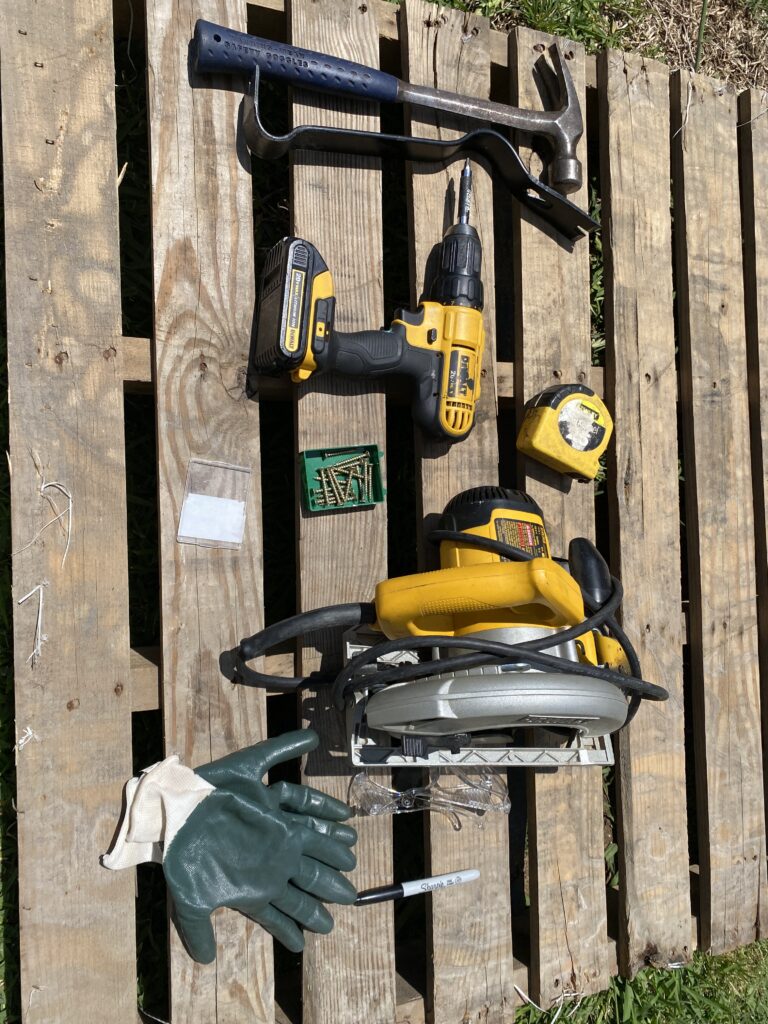
Tools needed:
- Pry bar
- Hammer
- Drill
- Screws
- Saw
- Marker (optional)
- Tape measure (optional)
Safety Gear:
- Gloves- no splinters!
- Goggles for cutting wood
- A mask when cutting wood
Step 2: Arrange & Combine Pallets
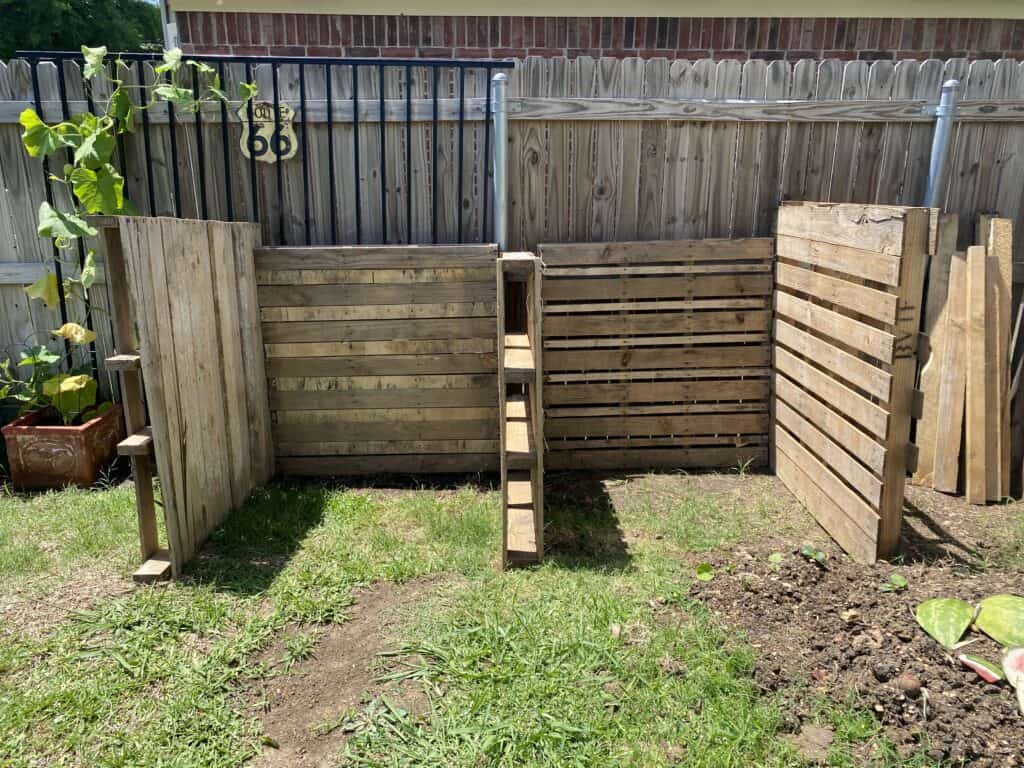
First, select your best 5 pallets and arrange them in the order that you will want the compost bin to be built.
Screw each pallet to its connecting pallet to ensure a firm and sturdy structure.
The remaining pallets wood will be separated and used for the door and to patch up any gaps.
Step 3: Separate Wood From Extra Pallets
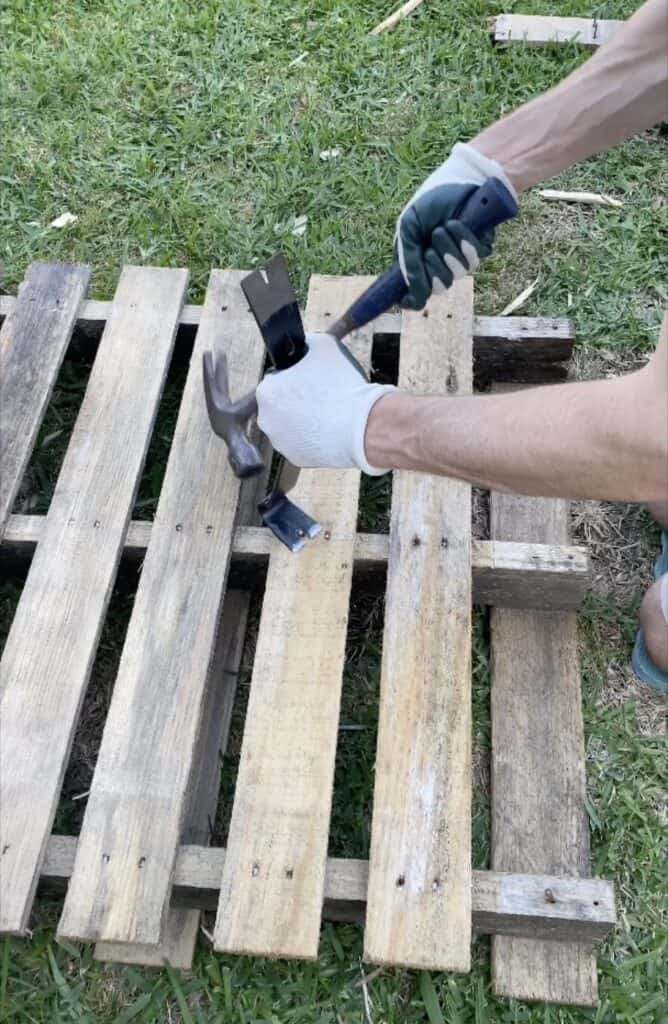
This step is so that you have extra wood to create your doors and to board up spots as needed.
You will notice on pallets you have two kinds of wood:
- The deck boards (thinner pieces of wood that go across the top)
- These will be used as the removable sliding pieces on your door and will serve as extra wood to board up any gaps
- The blocks (thicker pieces below the deck boards that stabilize pallet)
- These will be screwed in vertically to the sides of the compost structure, parallel and even, to allow the deck boards to slide in and out
*This step is a bit labor intensive, but for me, I don’t mind a good hardworking project paired with the fact that it prevents the need to buy any extra wood.
If you don’t have the time or energy for this step, you’ll have to buy some extra wood. Just measure the length you need and head to your local hardware store.
Step 4: Patch Up Gaps in Main Pallets
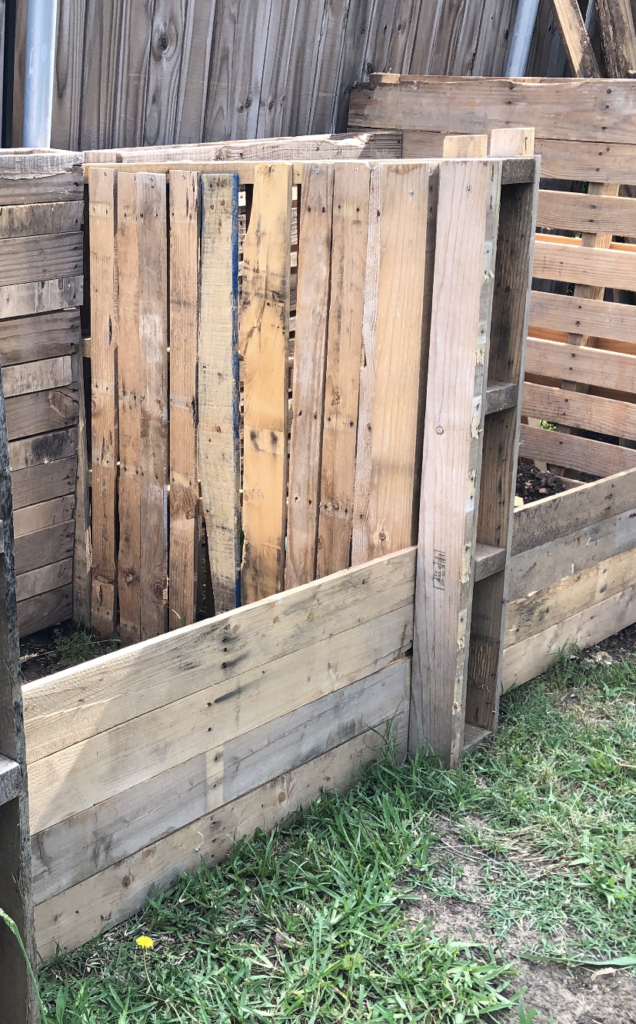
Use extra wood to patch up large gaps in your main pallets as needed. For example, your middle pallet will need some extra boards on the backside to prevent too much compost from escaping between the cracks.
Some small gaps are ok. Remember, it’s just to hold compost! It doesn’t need to be perfect.
Step 5: Cut Deck Boards
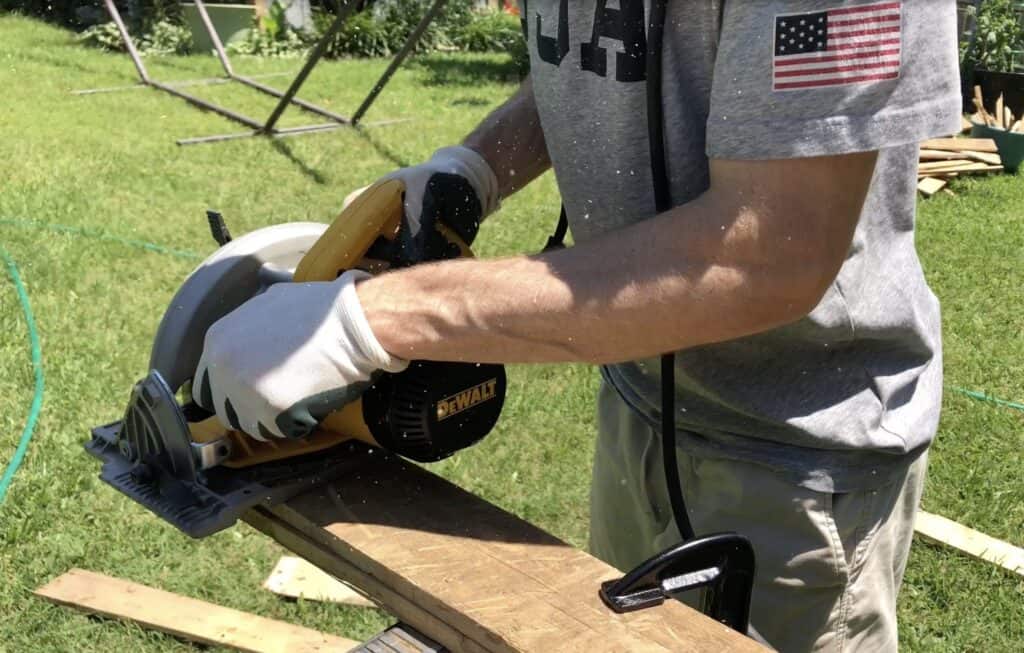
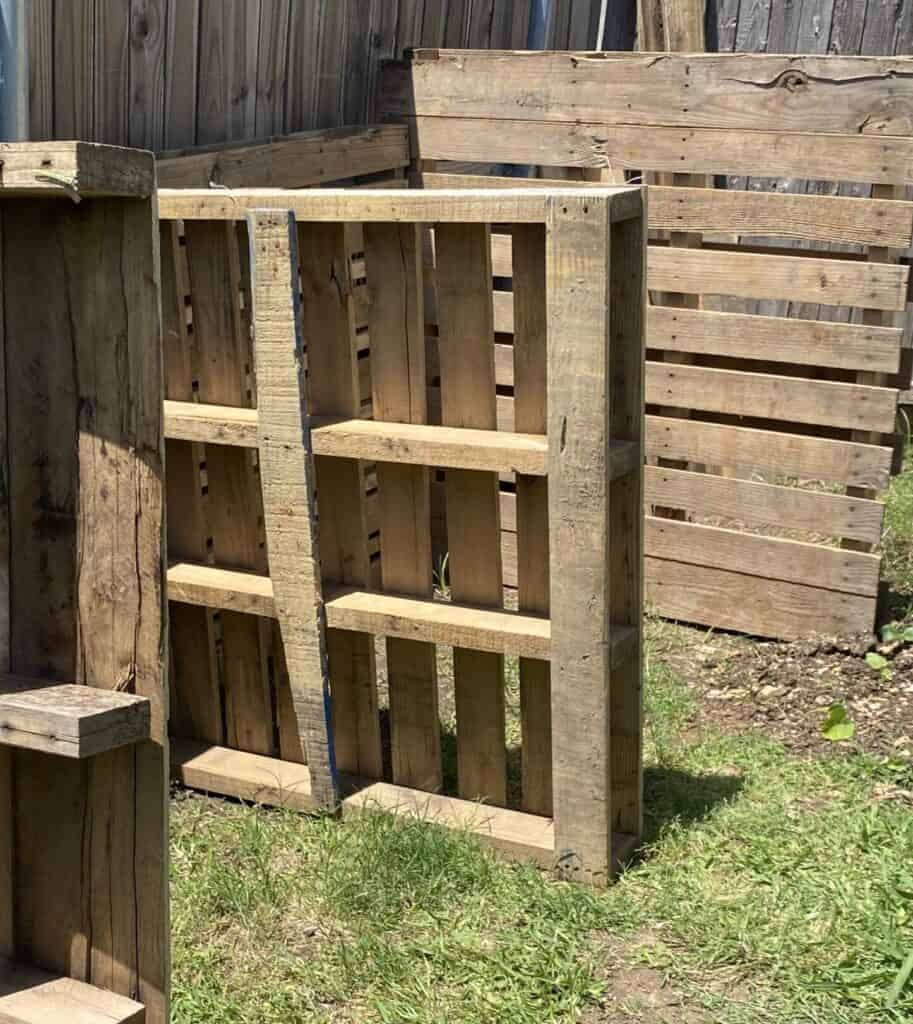
To ensure the deck boards fit perfectly between the pallets and will slide up and down appropriately, measure and cut one deck board so that it fits between the pallets horizontally, then you can cut the other 3 boards to the same length.
Do this for each compost section.
Keep in mind the length between each compost section might be different so be sure you take measurements and cut the deck boards for each section appropriately.
Step 6: Screw Blocks in Place
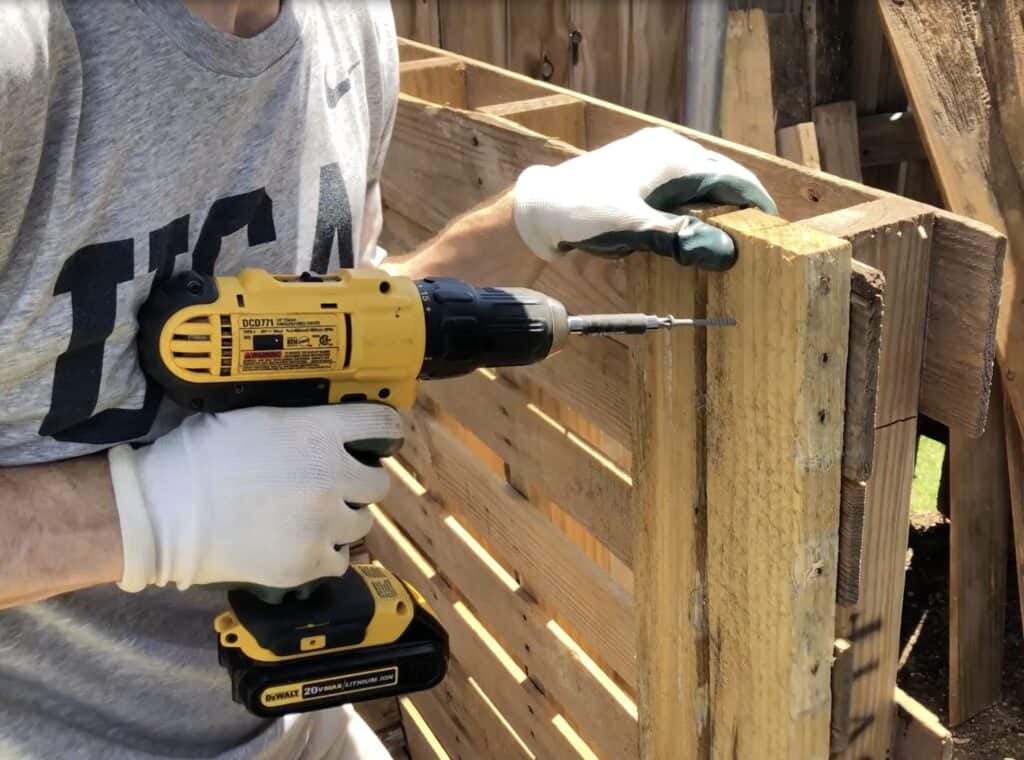
Now, it’s time to screw the blocks into each pallet. Start by placing the cut deck board horizontally between the pallets, using it as a guide. Position a vertical block on both sides of the deck board, ensuring they are snug but not too tight, allowing the deck boards to slide up and down.
Also, be sure each set of blocks is aligned correctly within each compost section. This alignment is important to ensure that the deck boards slide up and down smoothly without becoming crooked.
Once you have the alignment right, fasten the blocks to the pallets securely. By using the deck board as a guide and ensuring proper alignment, you will create a functional and easy-to-use door system for your compost bin!
Now just throw your compost in (or begin your composting journey!) and you’re done!
Let us know if you have any comments or suggestions and happy composting!

