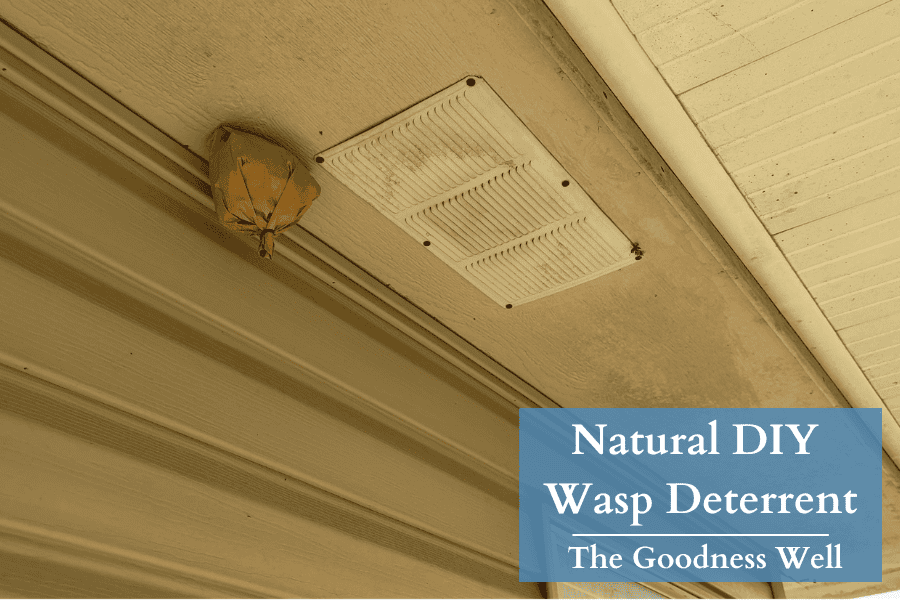
How to Get Rid of Wasps Naturally | Simple DIY Repellent
If you’re like us, then you know the great yearly battle against those little hated creatures we called wasps.
We got tired of spraying and knocking down nests which felt like a never ending cycle as they’d be back the next day building an even bigger one.
But what if I told you there’s a natural, chemical-free way to dramatically reduce wasp activity around your home using nothing more than a brown paper bag and a few household items?
This DIY fake wasp nest method has been a game-changer for us!
Let me show you how it’s done.
Why Fake Wasp Nests Work
Wasps are highly territorial creatures.
Most species won’t build their nests near existing wasp or hornet colonies because they know it means competition for food and potential conflict.
By creating convincing fake nests, you’re essentially putting up “No Vacancy” signs around your property that wasps will respect and avoid.
This method leverages their natural instincts without using harmful chemicals or expensive pest control services.
It’s safe for your family, pets, and the environment while being incredibly cost-effective.
Materials You’ll Need
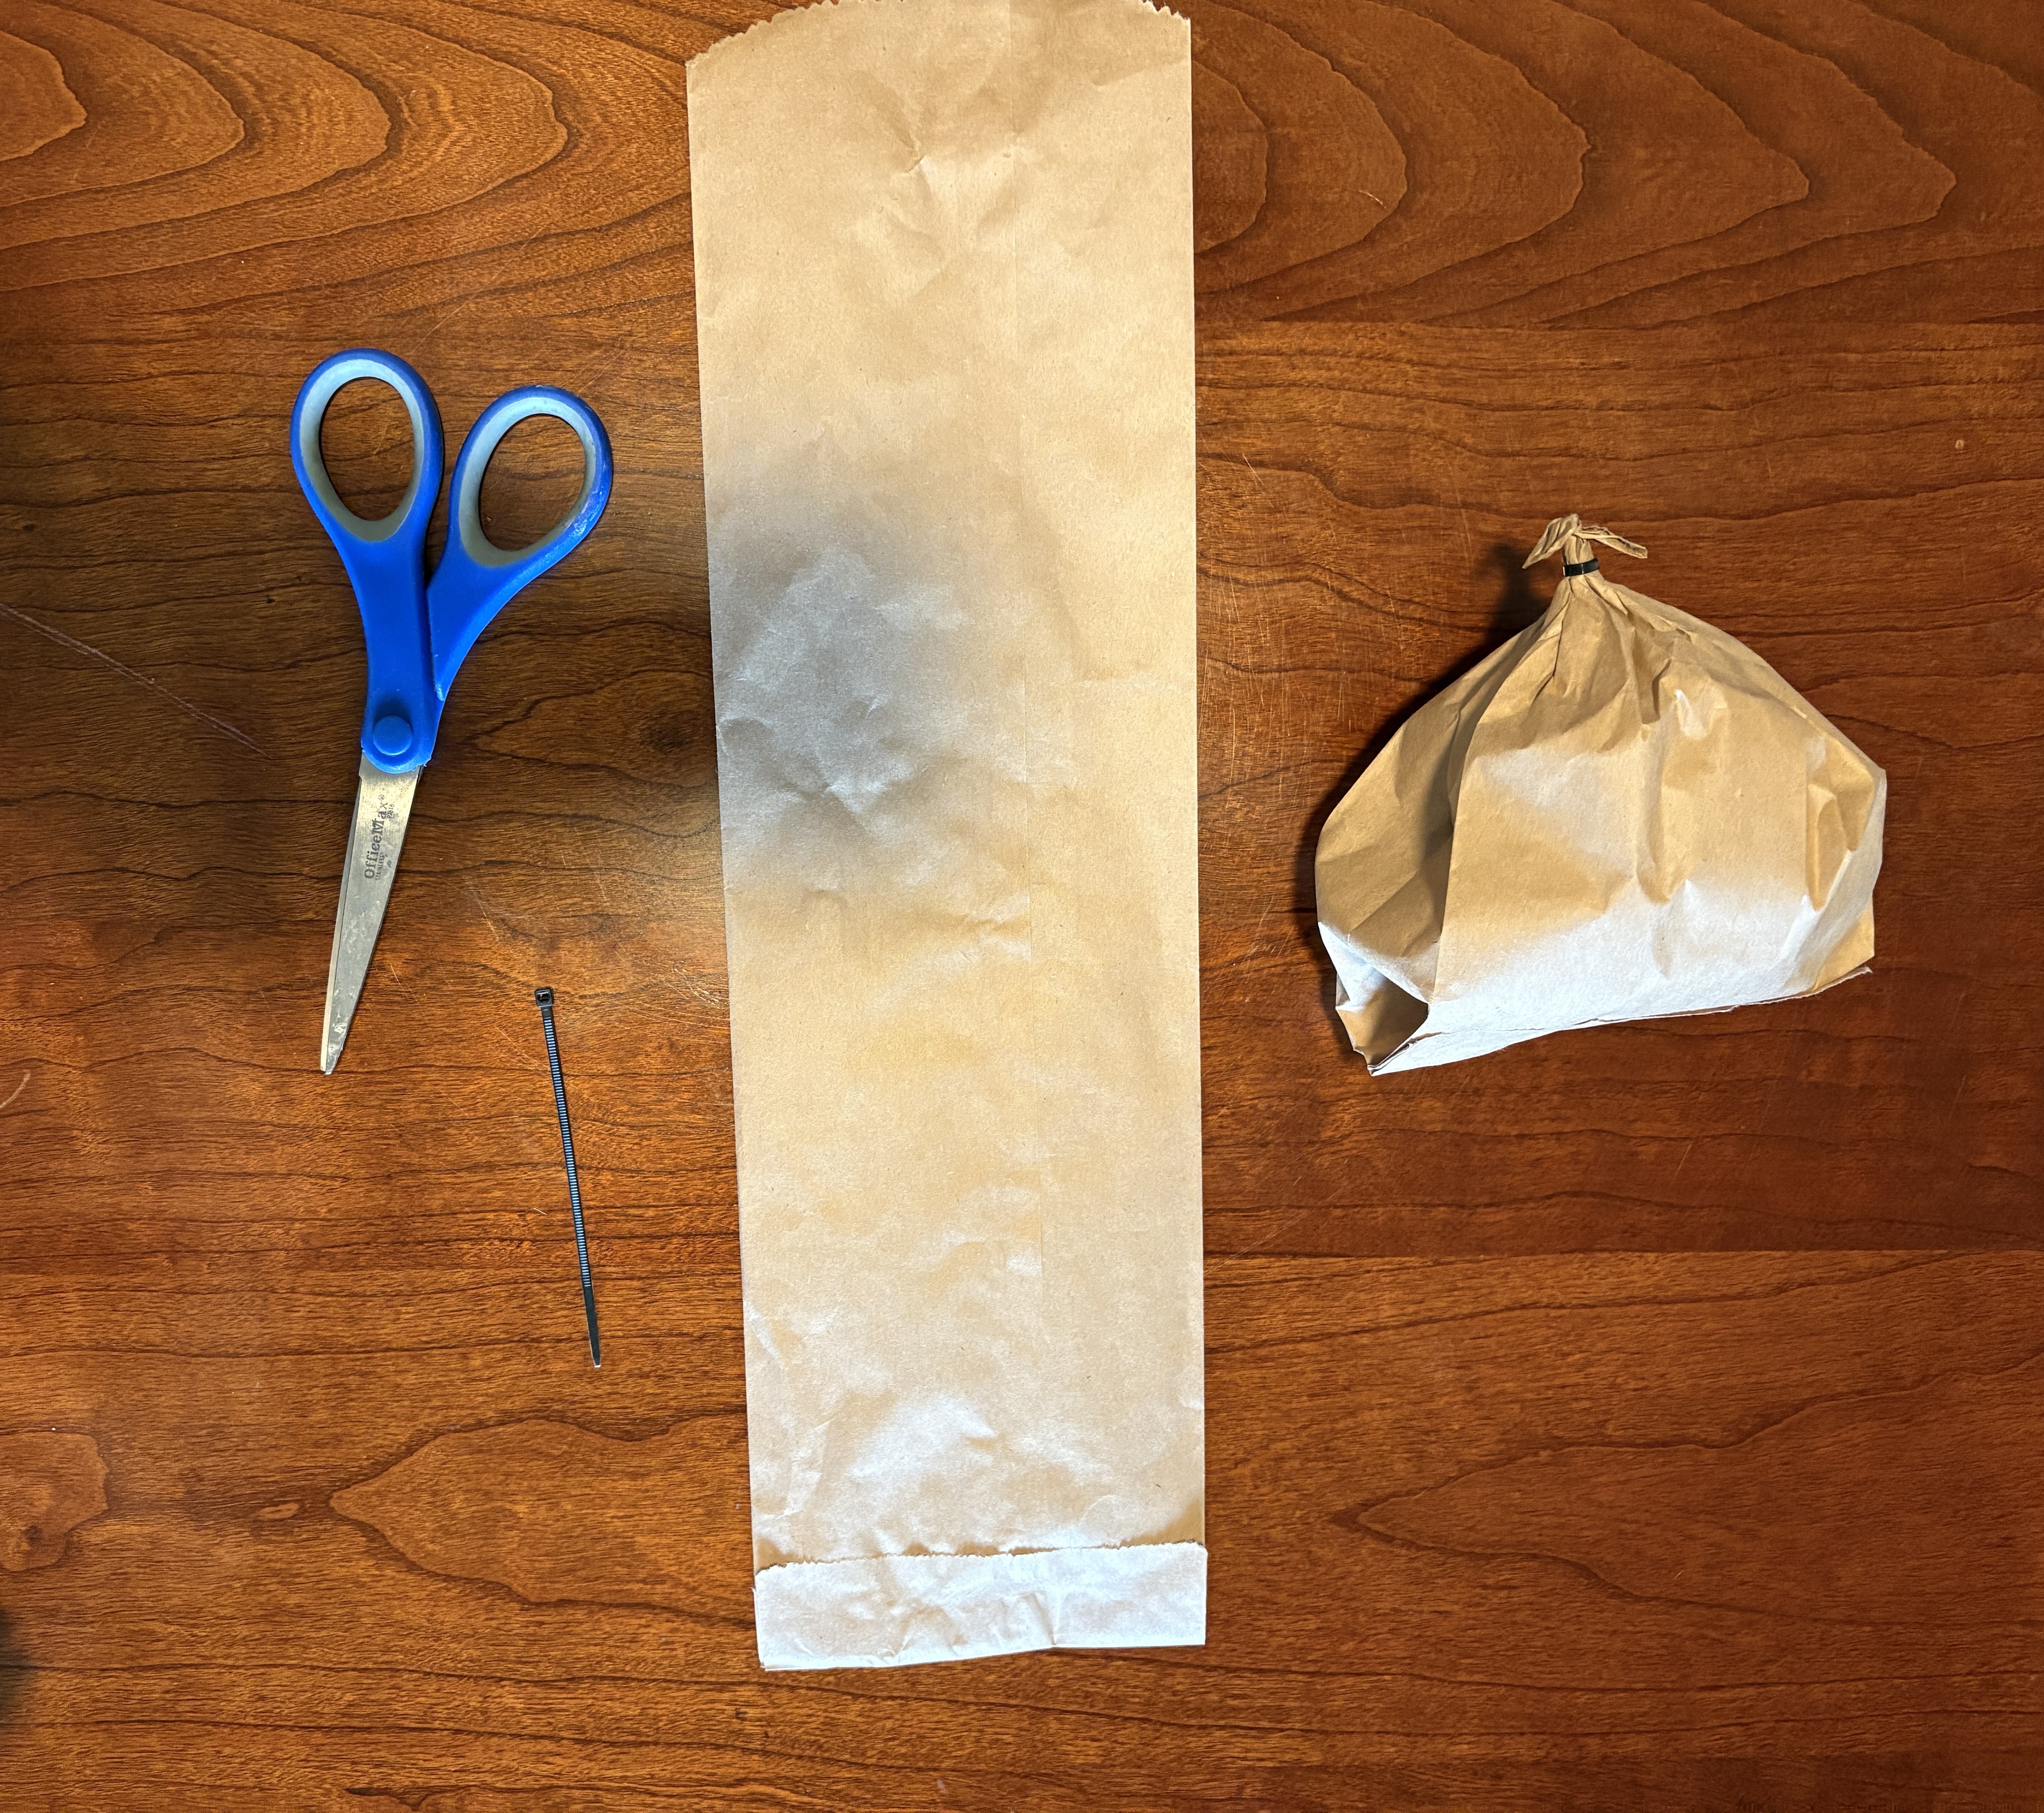
- Brown paper bags (we used wine bottle paper bags but regular lunch ones work great too)
- Plastic grocery bags
- String, twine, or zip ties
- Nails and hammer (or alternative hanging methods)
- Scissors (optional, for trimming)
That’s it! You probably already have everything you need lying around the house.
Step-by-Step Instructions
Creating Your Fake Wasp Nest
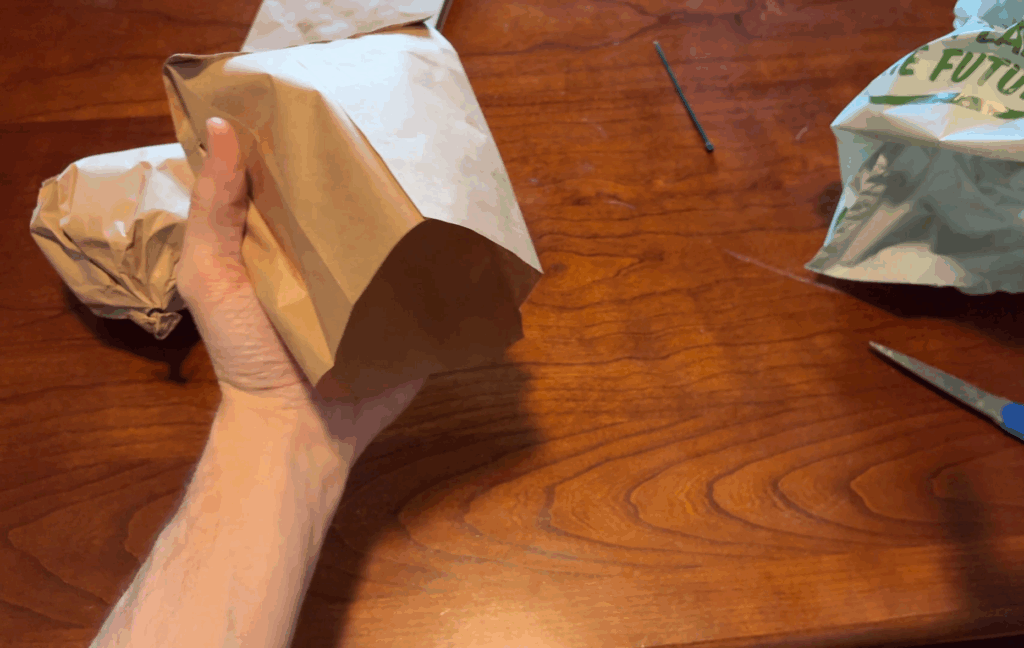
Step 1: Prepare the Paper Bag Take a brown paper bag and open it fully. The natural brown color mimics the papery appearance of real wasp nests.
Step 2: Stuff the Bag Take a plastic grocery bag and crumple it up loosely. Stuff this plastic bag inside the brown paper bag. The plastic gives the fake nest shape and helps it maintain its form while making it weather-resistant.
Step 3: Create the Nest Shape Gather the open end of the brown paper bag and twist it tightly. The stuffed portion should create a rounded, bulbous shape that resembles a natural hornet’s nest.
Step 4: Secure with a Knot Tie a tight knot at the twisted end of the bag or use a zip tie to close it. This creates the characteristic tapered bottom that many wasp nests have. Make sure the knot is secure.
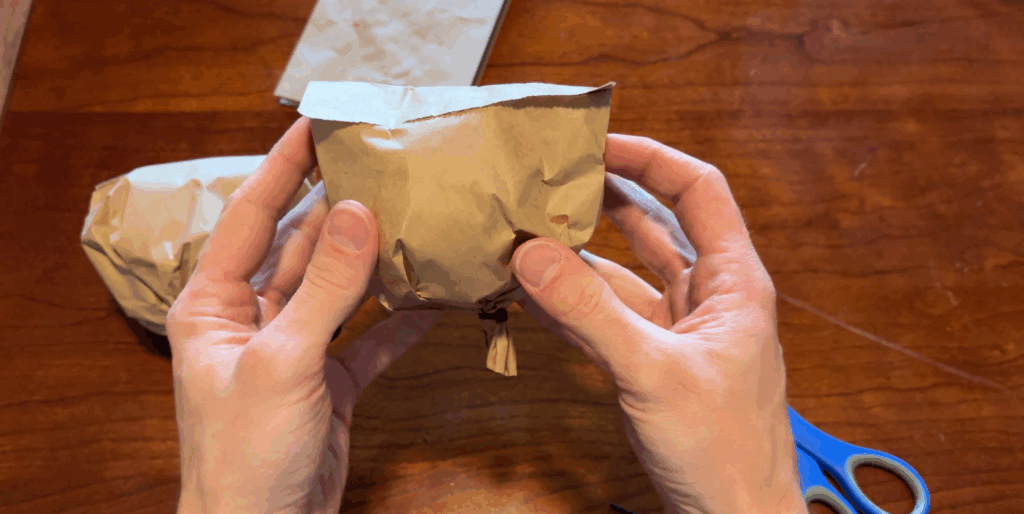
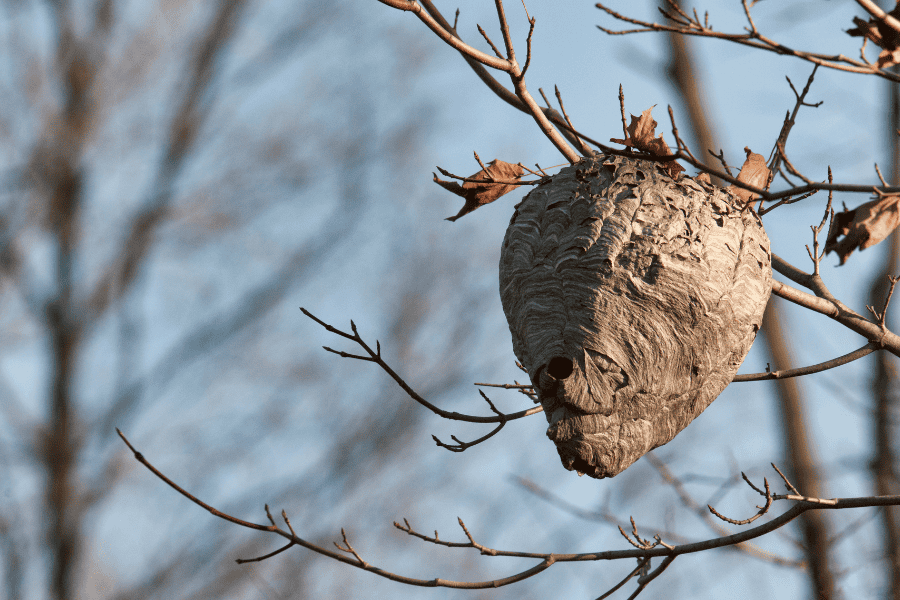
Step 5: Final Shaping Gently manipulate the bag to create a more irregular, natural-looking shape. Real wasp nests aren’t perfectly round, so add some character to make it more convincing. If you have the time, you can even paint it to go a step further to resemble the hornets nest.
The more your finished product resembles a real hornet’s nest, the more effective it will be! Mine works but you could make a much better one.
Installation Options
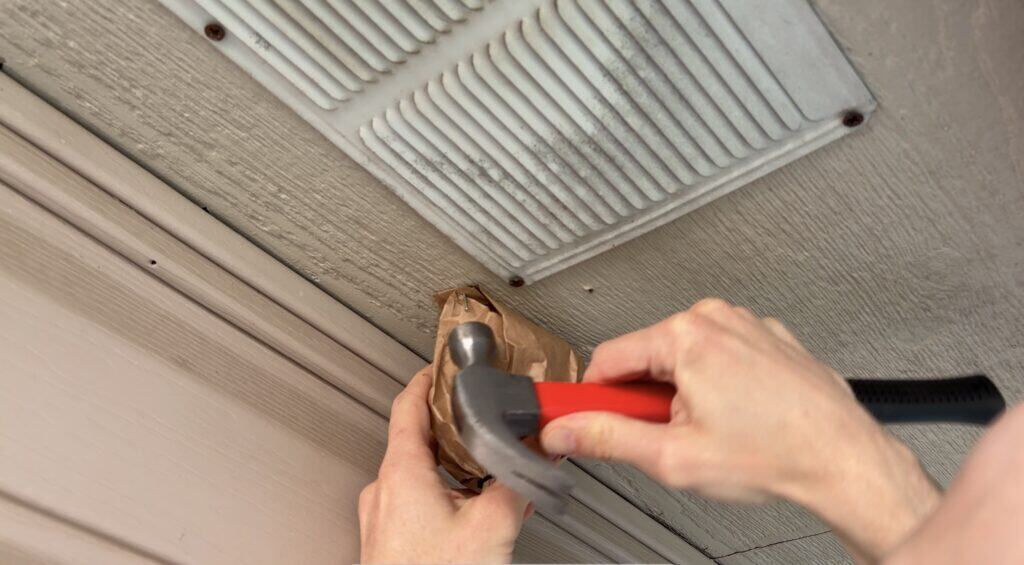
Method 1: Nailing to Siding Using small nails, attach the large end of your fake nest directly to your home’s siding, eaves, or other protected areas where wasps typically build.
Alternative Hanging Methods:
- String/Wire: Tie strong string or thin wire to the knotted end and hang from existing hooks, brackets, or nails
- Command Strips: Use heavy-duty adhesive strips for temporary installation without making holes
- Shepherd’s Hooks: Place near problem areas using garden shepherd’s hooks
- Tree Branches: Hang from sturdy branches near patios or outdoor living spaces
- Under Eaves: Slip the knotted end into gaps between siding and eaves for a natural look
My Real-World Results
After installing my fake nests, I initially thought it didn’t work when wasps still came back.
But here’s where it gets interesting – and where patience pays off.
What Changed:
- Frequency: Instead of constant rebuilding, wasps now come around MUCH less frequently
- Numbers: When they do show up, it’s typically just one wasp (rarely two) instead of the 3-4 I used to see trying to build a nest at once
- Behavior: The single wasp will start building, create only a tiny structure (barely qualifying as a nest), then abandon the nest and never return
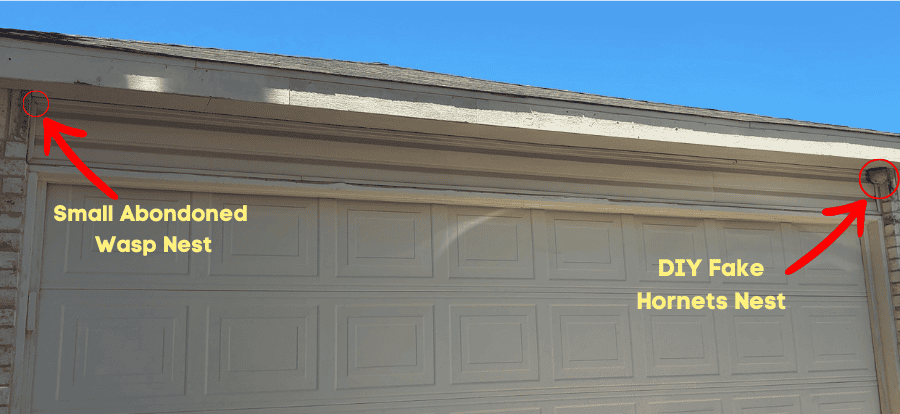
- Long-term Success: I made three fake nests – one for the back porch, one for the front siding near the garage, and one by the front door. In the 5 months after this (during peak wasp seaon in the summer) I had only one wasp try to build a real nest, which I just killed, removed, and no others have been back for now
The Reality Most of the Time: What I see now around my home are these tiny, abandoned nest beginnings near my fake hornet nests – with absolutely no wasp activity around them. No wasps flying around, no attempts to continue building, just these small remnants that show the fake nest is working. The area remains completely wasp-free most of the time.
This method doesn’t create a wasp-proof bubble around your home – it drastically reduces wasp activity.
Instead of many big and large nests with multiple wasps, you get rare, minimal “nests” that are quickly abandoned and easily managed.
Placement Tips

Visibility is Key: The fake nests need to be visible to approaching wasps.
Place them where wasps can easily spot them when looking for nesting locations.
Cover Problem Areas: Install fake nests near:
- Previous nesting sites
- Eaves and overhangs
- Porch corners
- Garage entrances
- Outdoor dining areas
- Pool or deck areas
Distance Matters: The fake nest doesn’t need to be exactly where wasps were building – it just needs to be in the general vicinity. A fake nest visible from 10-15 feet away will work.
Extra Tips
- Timing: Install your fake nests in early spring before wasp activity peaks.
- Maintenance: Check your fake nests periodically and replace them if they become too weathered or damaged. Remember, the more convincing the nest, the more effective.
- Multiple Locations: Don’t rely on just one fake nest for a large property. I found success with three strategically placed nests covering different areas of my home.
- Patience: Give the method time to work. The benefits become more apparent over weeks and months, not just days.
- Weather Protection: While the plastic bag inside provides some weather resistance, placing fake nests under eaves or overhangs will help them last longer.
Bottom Line
This simple DIY method won’t get rid of every single wasp from your property, but it will dramatically reduce their nesting activity to almost nothing!
Instead of dealing with constant nest rebuilding and swarms of wasps, you’ll have occasional, minimal encounters that are much easier to manage.
If you’re like us and prefer to keep your yard safe from harsh chemicals, you might also like our guide on non-toxic weed killers. It’s another easy way to keep your outdoor spaces pest- and weed-free without harming your soil, pets, or family.