21 DIY Natural Beauty Recipes
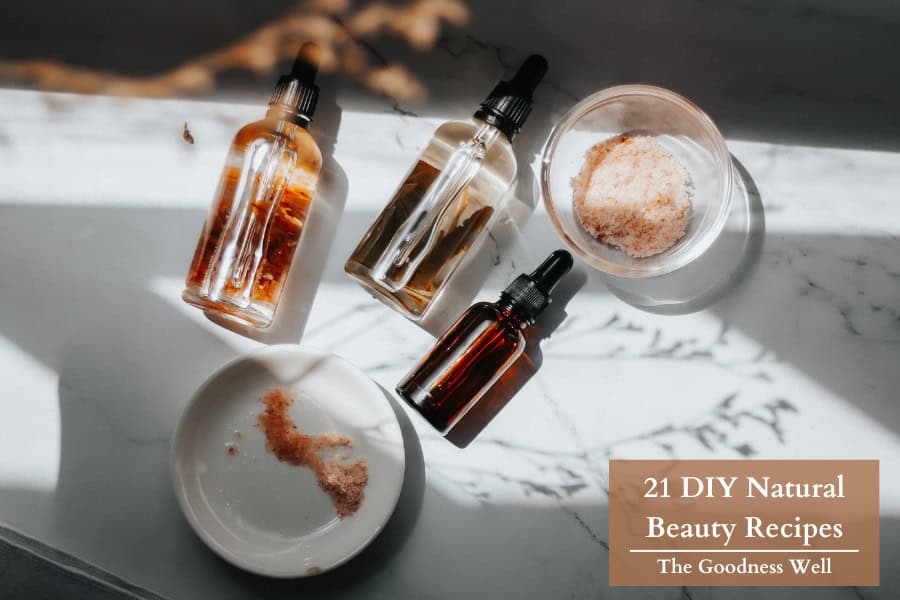
Let’s be real, a lot of natural beauty products are either super hard to find or waaaay overpriced, some are even complete frauds… But lucky for you, you can make your own products at home.
I honestly feel like once you start to let go of the convenience of buying all your products at the store, you’ll become more comfortable with making things yourself and get more customizable products that can save you time and money in the long run.
These 21 beauty recipes will help you get your foot in the door and provide you with easy DIY beauty products you’ll love.
🤍But most importantly by the time you’re done trying out any of these recipes you’ll have the confidence to make even more!
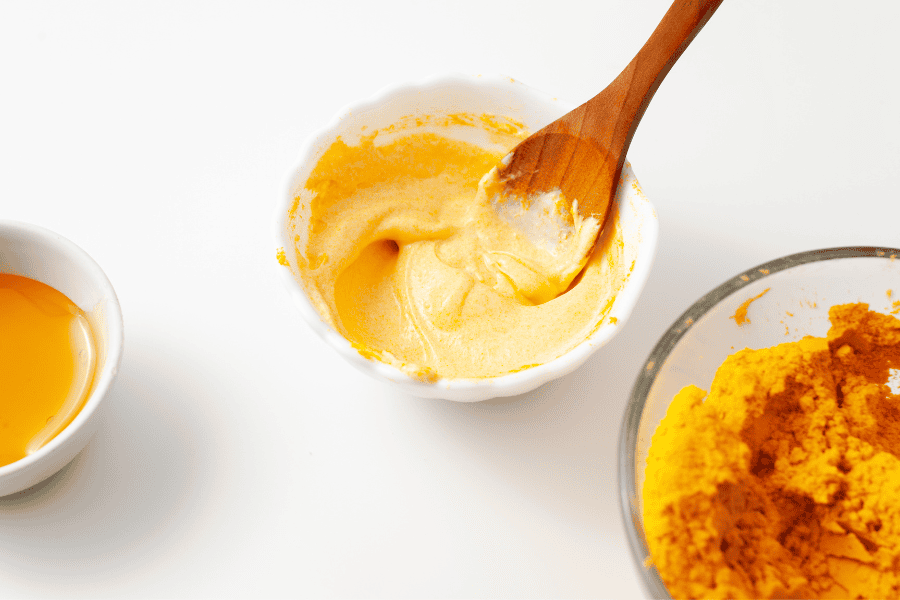
1. Face Mask
Everyone needs a go-to face mask that helps replenish and hydrate their skin. That’s why this face mask is a go-to for me and my husband. Turmeric is my favorite because it helps even out my skin’s sun patchiness and reduce discoloration.
Ingredients:
- 2 tablespoons of plain yogurt
- 1 tablespoon of honey
- 1 teaspoon of turmeric powder
Instructions:
- Mix the yogurt, honey, and turmeric powder in a bowl until you get a smooth paste.
- Apply the mixture to your face, avoiding the eye area.
- Leave it on for 15-20 minutes.
- Rinse off with warm water and pat your face dry.
Benefits:
- Yogurt: Hydrates and soothes the skin.
- Honey: Has antibacterial properties and moisturizes.
- Turmeric: Reduces inflammation and brightens the skin.
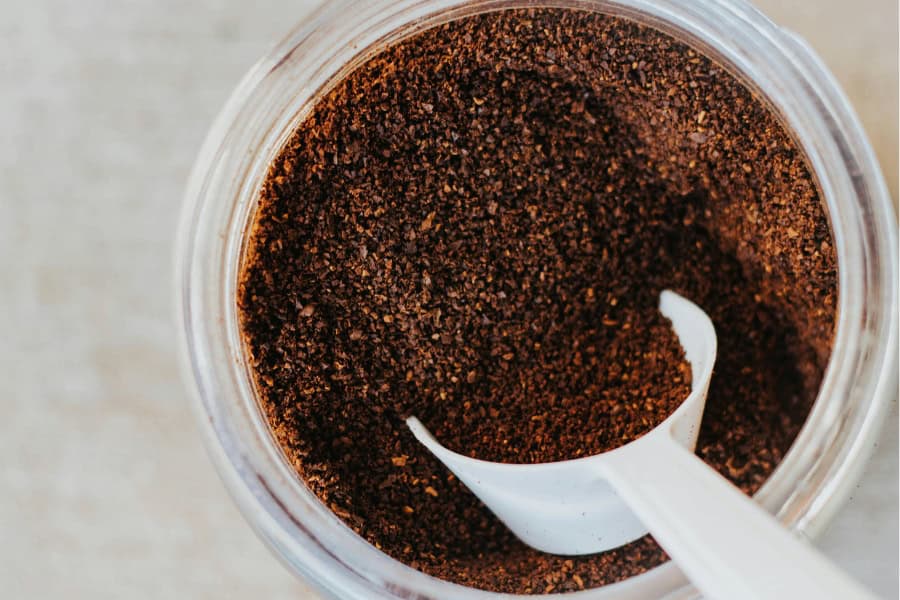
2. Face Scrub
Ingredients:
- 2 tablespoons of ground coffee(for a more coarse texture) or 2 tablespoons of finely ground oats (for a gentle exfoliation)
- 1 tablespoon of honey
- 1 tablespoon of plain yogurt
Instructions:
- Mix the finely ground oats or coffee grounds, honey, and yogurt in a small bowl until well combined.
- Gently massage the mixture onto your face in circular motions, avoiding the eye area.
- Rinse off with warm water and pat your face dry.
Benefits:
- Finely Ground Oats: Exfoliates gently and soothes the skin.
- Honey: Moisturizes and has antibacterial properties.
- Plain Yogurt: Contains lactic acid which helps in gently exfoliating and brightening the skin while providing hydration.
- Ground Coffee: Provides a coarse texture for effective exfoliation and helps to reduce puffiness and improve circulation.
I like to go for the coffee grounds because I feel like they give me the level of exfoliating that I need but it’s important not to scrub hard or use this recipe too often. You don’t want to over-exfoliate. It’s best to exfoliate about 2 times per week.
3. Under-eye cream
I don’t know if it’s genetics or what but ya girl can have some serious dark circles at times. It could be a lack of sleep after a restless night or just my under eyes giving me a sign I need to refresh them.
Regardless this under-eye cream works wonders by reducing my dark circles and bringing back a more even tone.
Ingredients:
- 1 tablespoon of coconut oil
- 1 tablespoon of almond oil
- 1 teaspoon of finely ground coffee
Instructions:
- Mix the coconut oil and almond oil in a small bowl.
- Add the finely ground coffee and mix well.
- Stir until all ingredients are thoroughly combined.
- Apply a small amount under your eyes, gently massaging it in.
- Leave it on for 15-20 minutes, then gently wipe off with a damp cloth.
Benefits:
- Coconut Oil: Moisturizes and reduces dark circles.
- Almond Oil: Nourishes and lightens the skin.
- Coffee grounds: Reduces puffiness and dark circles due to its caffeine content.
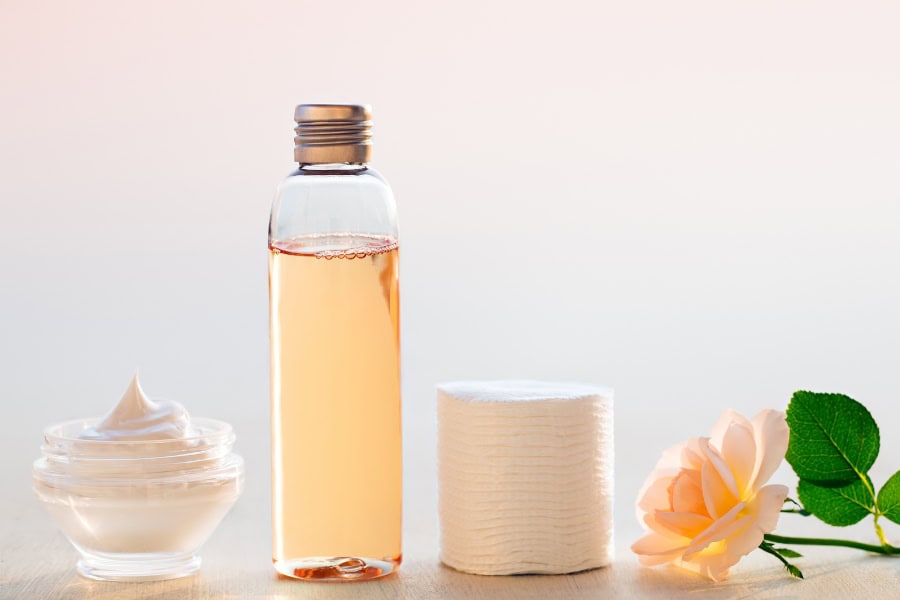
4. Toner
As someone who can have really dry skin, I like to use toner to prep my skin to be more absorbent towards moisturizers and balance my pH levels. My favorite go-to DIY toner is simple but super effective.
Ingredients:
- 1/2 cup of witch hazel
- 1/4 cup of rose water
- 1/4 cup of distilled water
Instructions:
- Mix all ingredients in a spray bottle.
- Shake well before each use.
- Spray onto a cotton pad and apply to your face after cleansing.
Benefits:
- Witch Hazel: Reduces inflammation and tightens pores.
- Rose Water: Hydrates and balances skin pH.
- Distilled Water: Dilutes the solution and provides hydration.
5. Facial Mist
Speaking of hydration, I like to follow up my DIY toner with my facial mist.
The ingredients are simple, but the toner is perfect for prepping my skin for makeup and sunscreen. My facial mist helps me freshen up on days when I’m wearing more makeup than usual or on hotter days (shoutout to all my Texas girls).
Ingredients:
- 1/2 cup of distilled water
- 1/4 cup of rose water
- 1 tablespoon of aloe vera gel
- 5 drops of lavender essential oil (optional)
Instructions:
- Combine the distilled water and rose water in a spray bottle.
- Add the aloe vera gel and shake well to mix.
- If using, add the lavender essential oil and shake again to combine.
- Store the spray bottle in a cool, dark place.
- To use, shake well and spritz onto your face as needed for a refreshing and hydrating mist.
Benefits:
- Distilled Water: Provides hydration and helps dilute the mixture for gentle application.
- Rose Water: Hydrates, soothes, and balances the skin’s pH, with a pleasant natural fragrance.
- Aloe Vera Gel: Soothes, hydrates, and helps to reduce redness and irritation.
- Lavender Essential Oil (optional): Adds a calming effect and provides a refreshing scent.
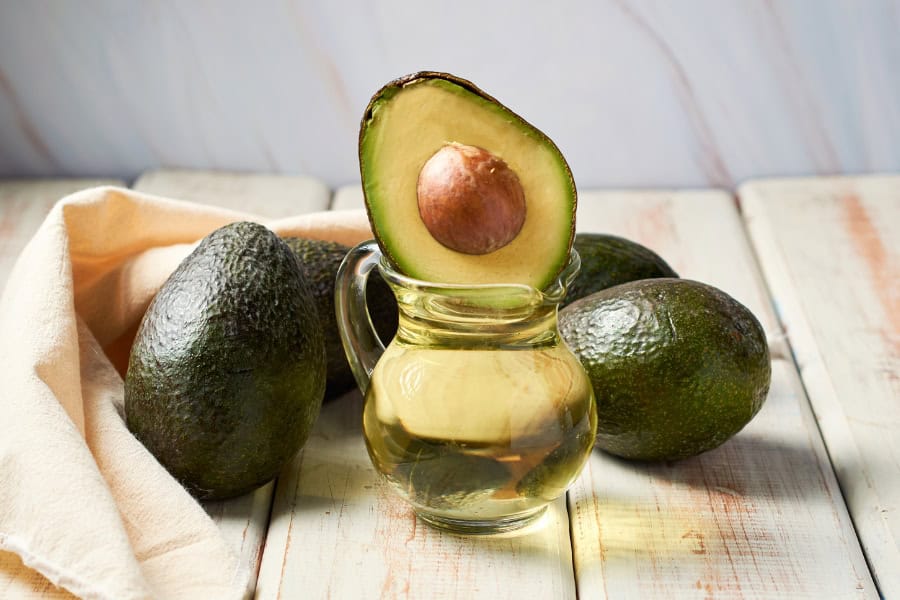
6. Hair Mask
Whether you’ve got curly, straight, thin, thick, coily, wavy, or all of the above, hair masks can do wonders for your hair health.
Specifically, this DIY hair mask is made to moisturize and strengthen your hair without leaving residues.
Ingredients:
- 1 ripe avocado
- 2 tablespoons of olive oil
- 1 tablespoon of honey
Instructions:
- Mash the avocado in a bowl until smooth.
- Add olive oil and honey, mixing well.
- Apply the mixture to your hair, focusing on the ends.
- Leave it on for 30 minutes, then rinse thoroughly.
Benefits:
- Avocado: Nourishes and moisturizes hair.
- Olive Oil: Adds shine and smoothness.
- Honey: Conditions and strengthens.
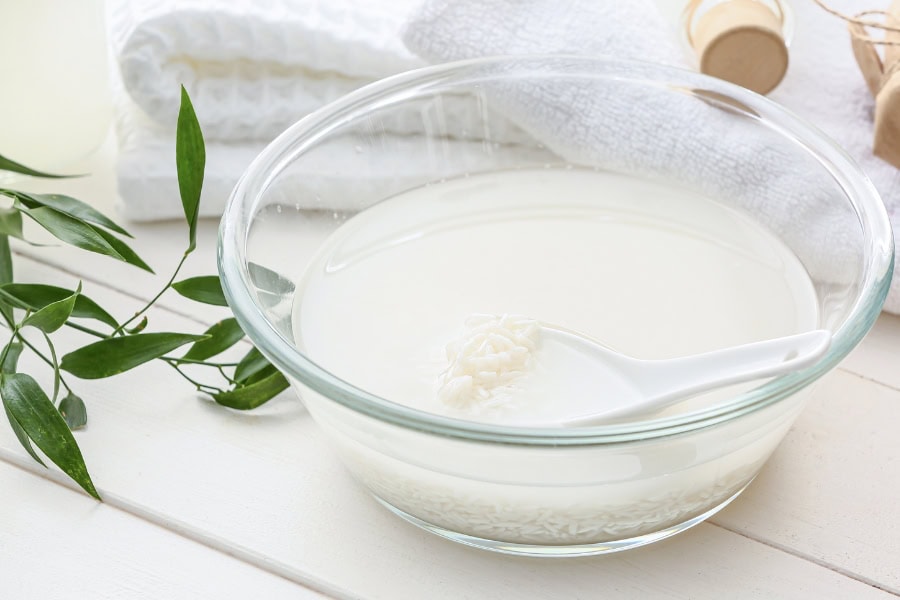
7. Hair Rinse
Y’all!! I promise you, this was a game-changer. This hair rinse is definitely not a one-and-done solution, but more of a treatment that helps build up the protein in your hair over time.
After a few rice water rinses, my hair became so much stronger and less brittle and dry, which ultimately gave my curls a nice bounce and shine.
Just a heads-up though, you shouldn’t use it too often. I recommend using the rice water rinse no more than once a week to avoid protein overload, which can make your hair stiff and dry.
Ingredients:
- 1 cup of uncooked rice (white, brown, or jasmine)
- 2 cups of water
Instructions:
- Rinse the rice thoroughly to remove any dirt or impurities.
- Place the rinsed rice in a bowl and add 2 cups of water.
- Let the rice soak in the water for about 30 minutes, stirring occasionally.
- Strain the rice water into a clean bowl or container, discarding the rice.
- After shampooing your hair, pour the rice water over your hair, ensuring it covers all areas.
- Leave the rice water in your hair for 5-10 minutes.
- Rinse your hair thoroughly with warm water.
Benefits:
- Rice Water: Contains vitamins, minerals, and amino acids that nourish the hair, improve elasticity, and strengthen hair roots. It also helps to detangle and smooth the hair, giving it a natural shine.
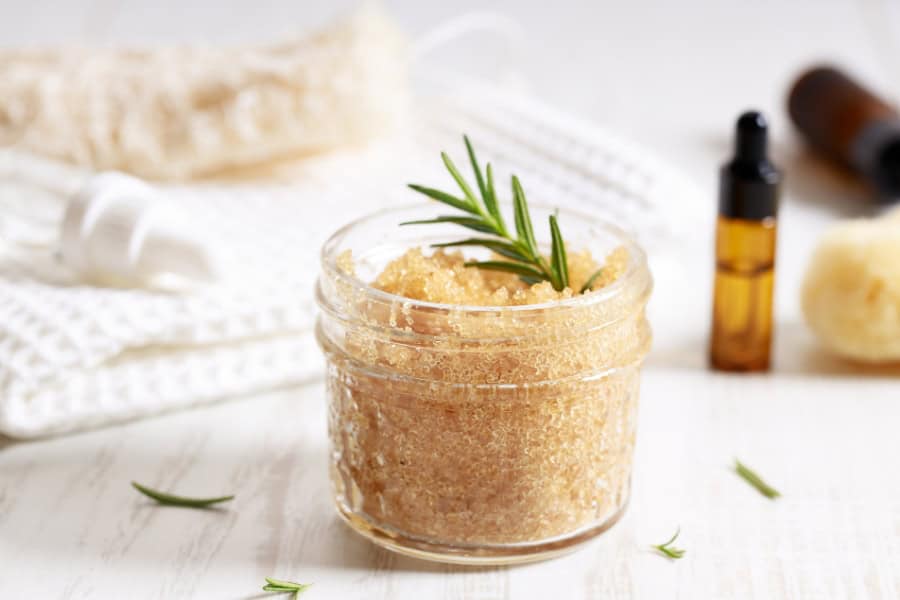
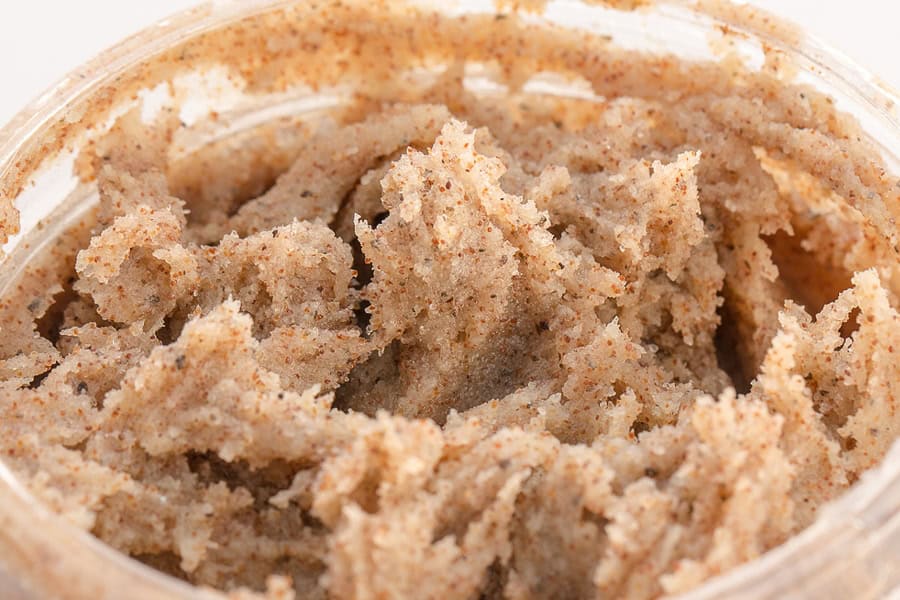
8. Body Scrub
I like to use this body scrub on the backs of my legs, my bum, and especially my back where I feel like my skin gets a little rougher or builds up oil, dirt, and sweat.
This body scrub is completely natural but still super effective at getting grime and dead skin off, leaving my skin smooth and refreshed.
Ingredients:
- 1 cup of brown sugar
- 1/2 cup of coconut oil
- 1 tablespoon of vanilla extract
Instructions:
- Mix all ingredients in a bowl until well combined.
- Gently scrub your body in circular motions.
- Rinse off with warm water.
Benefits:
- Brown Sugar: Exfoliates dead skin cells.
- Coconut Oil: Moisturizes and nourishes.
- Vanilla Extract: Provides a pleasant scent.
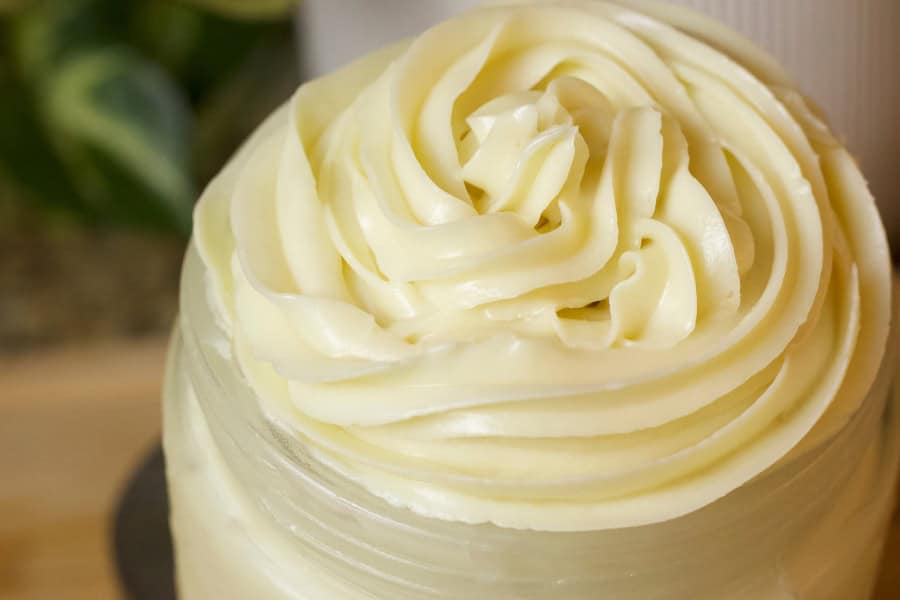
9. Body Butter
This was one of my first natural beauty recipes and man was it a hit!! Not only did I fall in love with it but my family and friends absolutely love it and in fact request we make them more whenever they run out.
This body butter is super moisturizing without being super oily. It’s perfect for stretch marks, dry skin, eczema, or even if you just want healthy glowing skin!
Ingredients:
- 1 cup of shea butter
- 1/2 cup of coconut oil
- 1/2 cup of almond oil
- 10 drops of essential oil (your choice)
Instructions:
- Melt shea butter and coconut oil in a double boiler.
- Remove from heat and let it cool slightly.
- Add almond oil and essential oil, then mix well.
- Whip the mixture with a hand mixer until fluffy.
- Store in a jar and apply as needed.
Benefits:
- Shea Butter: Deeply moisturizes and nourishes.
- Coconut Oil: Hydrates and softens.
- Almond Oil: Rich in vitamins and minerals.
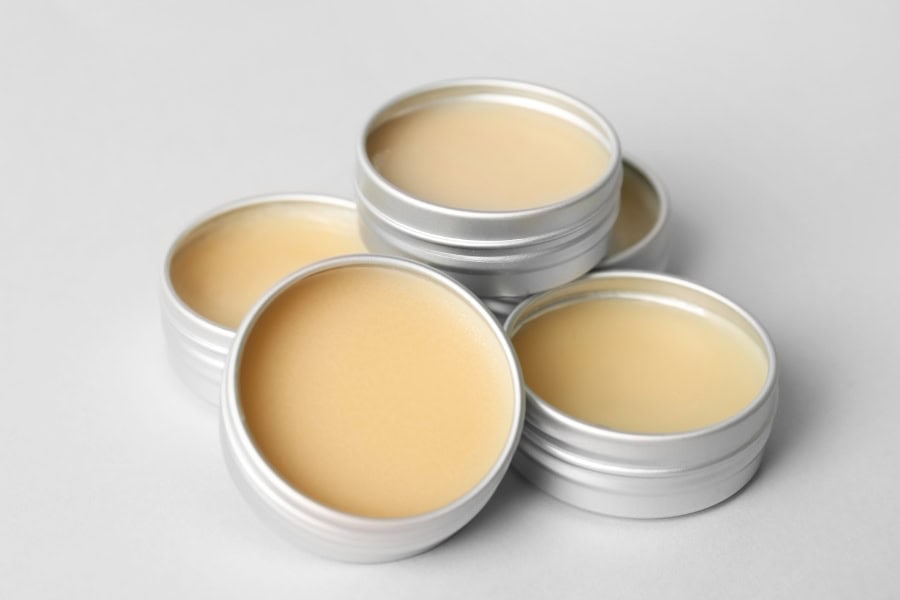
10. Lip Balm
Smackables!! Nobody wants chapped lips, but am I the only one who loathes those store-bought chapsticks made with ingredients that make you need more and more chapstick? Ugh, like that’s making it worse.
That’s why I love this super simple recipe for lip balm. I love the smell of beeswax, but if you want a little extra scent, you can add natural essential oils. Lavender pairs really well with this recipe.
Ingredients:
- 2 tablespoons of beeswax pellets
- 2 tablespoons of coconut oil
- 1 tablespoon of shea butter
- 5 drops of essential oil (optional)
Instructions:
- Melt beeswax, coconut oil, and shea butter in a double boiler.
- Remove from heat and add essential oil if using.
- Pour the mixture into lip balm tubes or small jars.
- Let it cool and solidify.
Benefits:
- Beeswax: Protects and moisturizes lips.
- Coconut Oil: Hydrates and nourishes.
- Shea Butter: Softens and conditions.
11. Lip Scrub
Just like you exfoliate your face and body those lips need exfoliating too. Exfoliating your lips can help cut down on chapped lips and get rid of dry or dead skin.
Ingredients:
- 1 tablespoon of brown sugar
- 1 tablespoon of honey
- 1 teaspoon of olive oil
Instructions:
- Mix all ingredients in a small bowl.
- Gently scrub your lips with the mixture in circular motions.
- Rinse off with warm water.
Benefits:
- Brown Sugar: Exfoliates dead skin cells.
- Honey: Moisturizes and heals.
- Olive Oil: Hydrates and nourishes.

12. Eyelash Serum
I did the whole false eyelash thing and while it looked bomb and it’s great for a lot of women, it ain’t cheap!!
So I started looking into growing, strengthening, and thickening my own eyelashes. That’s when I created this eyelash serum that helps support and strengthen your natural lashes.
Ingredients:
- 1 tablespoon of castor oil
- 1 tablespoon of coconut oil
- 1 vitamin E capsule or 2-3 drops of vitamin E oil
Instructions:
- Mix castor oil and coconut oil in a small bottle.
- Add vitamin E capsule contents or drops to the bottle.
- Apply a small amount to your eyelashes before bed using a clean mascara wand.
Benefits:
- Castor Oil: Promotes lash growth and thickness.
- Coconut Oil: Moisturizes and strengthens.
- Vitamin E: Nourishes and protects.
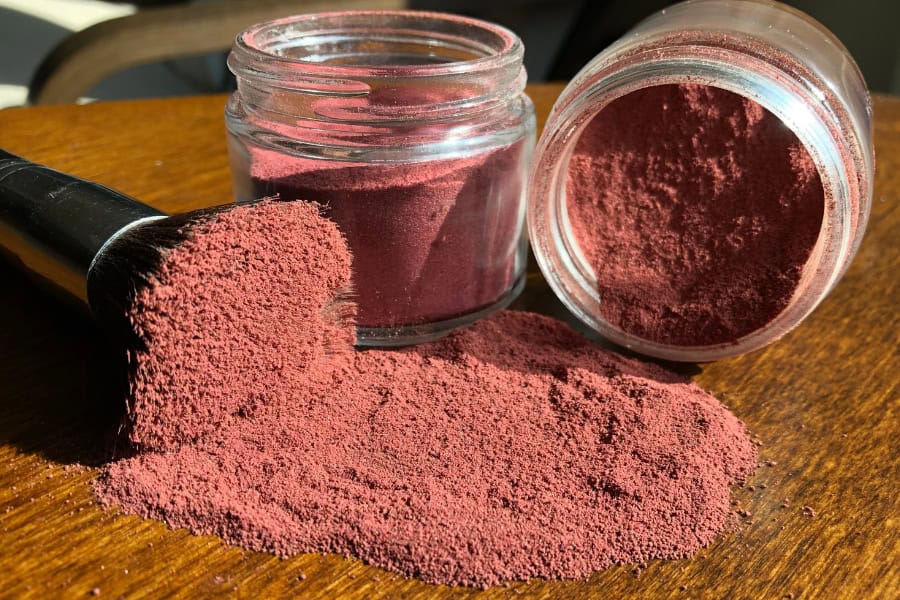
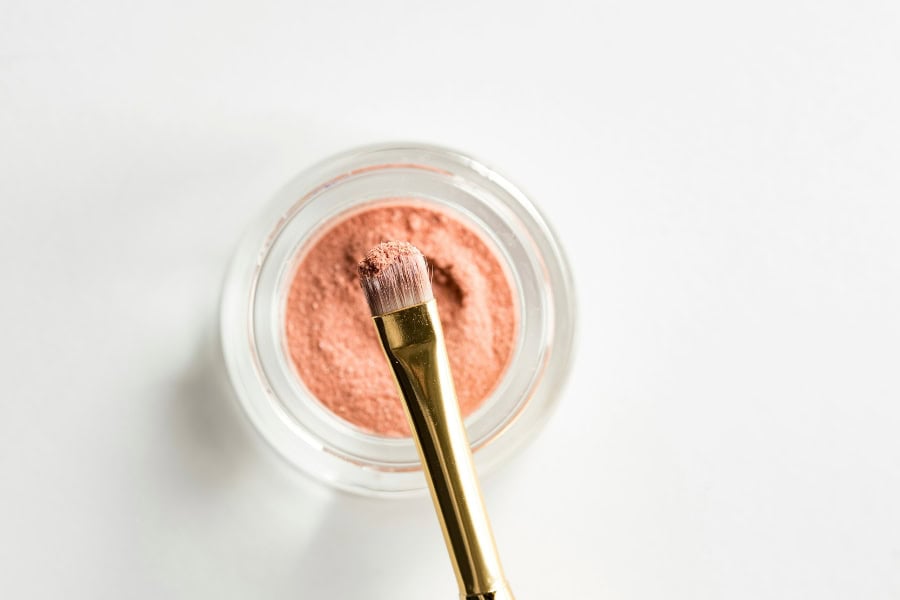
13. Homemade Blush
The right shade of blush can complete a look like nothing else can and give you a more warm and lively look.
I use this natural DIY blush powder recipe to make many different shades. I like to make more neutral shades for myself and for my mom she likes more deeper tones.
Ingredients:
Light to Medium Skin Tone
- 3 tablespoons of beet powder
- ½ teaspoon arrowroot powder
Medium Skin Tone(More Earthy Blush Color)
- 3 tablespoons of beet powder
- ½ tablespoon cocoa powder
Dark Skin Tone
- 3 tablespoons of beet powder
- ½ tablespoon finely grown coffee powder
Instructions:
- Mix powders in a small container.
- Adjust the amount of beetroot powder for your desired shade
- Apply the blush to your cheeks with a makeup brush.
Benefits:
- Arrowroot Powder: Provides a smooth base.
- Beetroot Powder: Adds natural color and is rich in antioxidants.
- Cacao powder: Offers natural pigment and antioxidant protection
- Coffee grounds: A natural exfoliation and antioxidant benefits
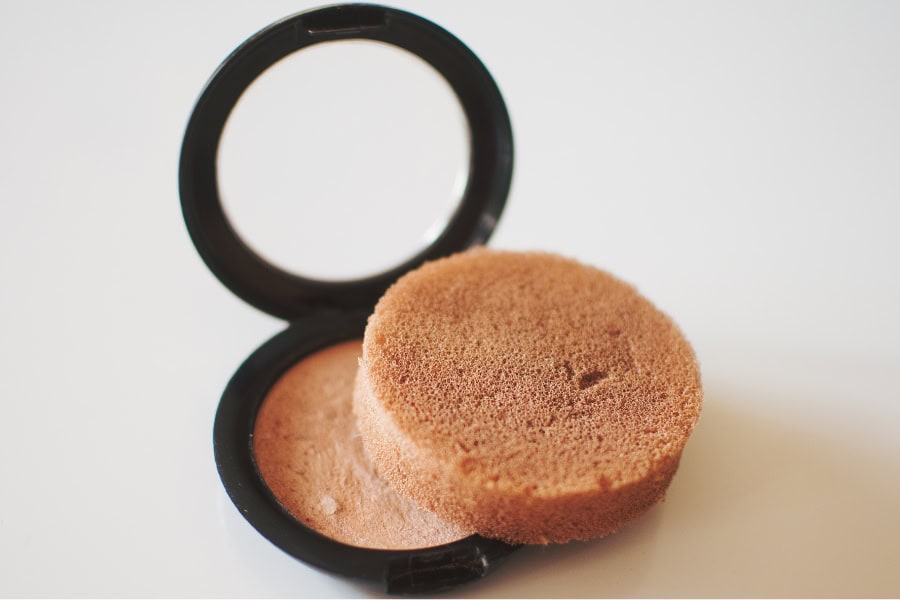
14. Natural Bronzer
I love using this natural bronzer to give me a warm glow and add shape and definition to my cheeks and jawline. This natural bronzer gives you a nice, sun-kissed look.
Ingredients:
- 1 tablespoon of cinnamon powder
- 1 tablespoon of cocoa powder
- 1 teaspoon of nutmeg powder
- 1 teaspoon of arrowroot powder
Instructions:
- Mix all ingredients in a small bowl until well combined.
- Adjust the quantities to match your skin tone.
- Apply with a makeup brush to the areas you want to bronze.
Benefits:
- Cinnamon Powder: Provides a warm, natural glow.
- Cocoa Powder: Adds depth and richness to the color.
- Nutmeg Powder: Adds a subtle shimmer.
- Arrowroot Powder: Helps blend and set the bronzer.
15. Highlighter
Just like blush, a highlighter done right can make a look even better. I like to pair this highlighter recipe with my natural bronzer and blush.
Ingredients:
- 1 tablespoon of arrowroot powder
- 1 teaspoon of mica powder (pearl or gold)
Instructions:
- Mix arrowroot powder and mica powder in a small container.
- Apply with a makeup brush to highlight cheekbones, brow bones, and the bridge of your nose.
Benefits:
- Arrowroot Powder: Smooths and blends easily.
- Mica Powder: Adds a natural, shimmering glow.
16. Eyeliner
Some mascara and eyeliners found in stores have chemicals and substances that I try to avoid such as carbon black(carcinogen), formaldehyde-releasing agents, and phthalates. This natural eyeliner recipe helps you get the look you want without compromising.
Ingredients:
- 1 teaspoon of activated charcoal powder
- 1/2 teaspoon of coconut oil
- 1/4 teaspoon of aloe vera gel
Instructions:
- Mix all ingredients in a small container until smooth.
- Use a fine eyeliner brush to apply.
Benefits:
- Activated Charcoal Powder: Provides a deep, black pigment.
- Coconut Oil: Moisturizes and helps with application.
- Aloe Vera Gel: Soothes and keeps the mixture smooth.
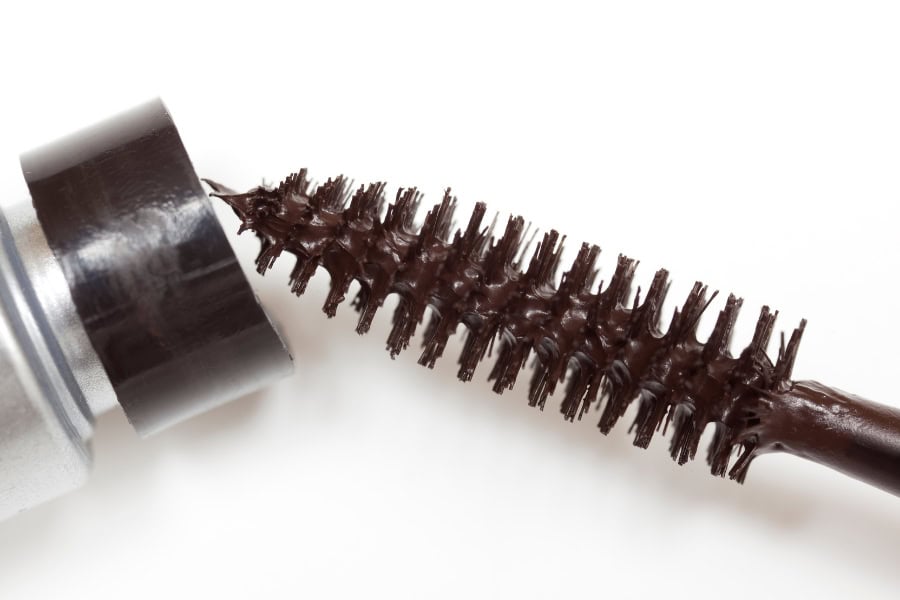
17. Mascara
This natural mascara recipe helps you get voluminous and full lashes without some of the nasty ingredients found in store-bought mascaras.
Ingredients:
- 1 teaspoon of activated charcoal powder
- 1 teaspoon of coconut oil
- 1 teaspoon of beeswax
- 1/2 teaspoon of aloe vera gel
Instructions:
- Melt the beeswax and coconut oil in a double boiler.
- Add the activated charcoal powder and aloe vera gel, mixing well.
- Pour the mixture into a clean mascara tube.
- Apply with a mascara wand.
Benefits:
- Activated Charcoal Powder: Provides a rich, black color.
- Coconut Oil: Conditions and strengthens lashes.
- Beeswax: Helps the mascara adhere to lashes.
18. Eyeshadow
While I don’t always use eyeshadow when I do I prefer to go natural not just with the shades but also with the ingredients. I use this natural eyeshadow to add a little color when I’m feeling it.
Ingredients:
- 1 tablespoon of arrowroot powder
- 1/2 teaspoon of cocoa powder (for brown)
- 1/2 teaspoon of activated charcoal (for black/gray)
- 1/2 teaspoon of turmeric (for gold/yellow)
Instructions:
- Mix arrowroot powder with the chosen color powder in a small container.
- Adjust the amounts for the desired color intensity.
- Apply with an eyeshadow brush.
Benefits:
- Arrowroot Powder: Provides a smooth application.
- Natural Color Powders: Provide rich, vibrant colors.
19. Foot Scrub
I don’t know about you but my feet can get a little crusty especially since I’ve stopped going to nail salons as much.
But don’t worry my feet don’t stay crusty and with this foot scrub recipe, yours don’t have to either lol!
Ingredients:
- 1 cup of Epsom salt
- 1/2 cup of coconut oil
- 10 drops of peppermint essential oil
Instructions:
- Mix all ingredients in a bowl.
- Scrub your feet with the mixture, focusing on rough areas.
- Rinse off with warm water.
Benefits:
- Epsom Salt: Exfoliates and soothes tired feet.
- Coconut Oil: Moisturizes and softens.
- Peppermint Essential Oil: Refreshes and invigorates.
20. Cuticle Oil
While I’ve cut out on a lot of nail polishes due to harmful formaldehyde-related agents, I didn’t stop caring for my nail and cuticle health. To clean up, heal, and nourish my nails and cuticles, I like to use this natural cuticle oil.
Ingredients:
- 1 tablespoon of jojoba oil
- 1 tablespoon of sweet almond oil
- 5 drops of lavender essential oil
Instructions:
- Combine all ingredients in a small bottle.
- Apply a drop to each cuticle and massage in.
Benefits:
- Jojoba Oil: Nourishes and moisturizes.
- Sweet Almond Oil: Softens and conditions.
- Lavender Essential Oil: Heals and soothes.
21. After-Sun Care
We all know sunscreen is a must but sometimes giving your skin an extra little TLC after being out in the sun all day can go a long way.
Unfortunately, a lot of after-sun care lotions and creams can have synthetic fragrances and other ingredients you don’t want or need. But this recipe allows you to care for your skin.
Ingredients:
- 1/2 cup of aloe vera gel
- 1/4 cup of coconut oil
- 10 drops of lavender essential oil
Instructions:
- Mix all ingredients in a bowl.
- Apply generously to sun-exposed skin.
- Store in the refrigerator for a cooling effect.
Benefits:
- Aloe Vera Gel: Soothes and hydrates sunburned skin.
- Coconut Oil: Moisturizes and repairs.
- Lavender Essential Oil: Heals and calms.
Drawbacks
The main drawback of natural beauty products is that the shelf life usually isn’t very long or at least not as long as store-bought products. This is due to the lack of preservatives.
It’s important to understand that not all preservatives are bad and some of them are actually pretty useful and important. If you think about it, preservatives actually help a product last longer making them sometimes(not always) a more sustainable product.
But you have to be careful because some toxic endocrine-disrupting preservatives are neither safe nor sustainable.
So what I’m saying is, don’t feel bad about buying some things at the store and making others at home. Just understand that a lot of natural products have shorter shelf lives. But be conscious of the ingredients in the products you buy at the store.
It’s all about balance. 😊